|
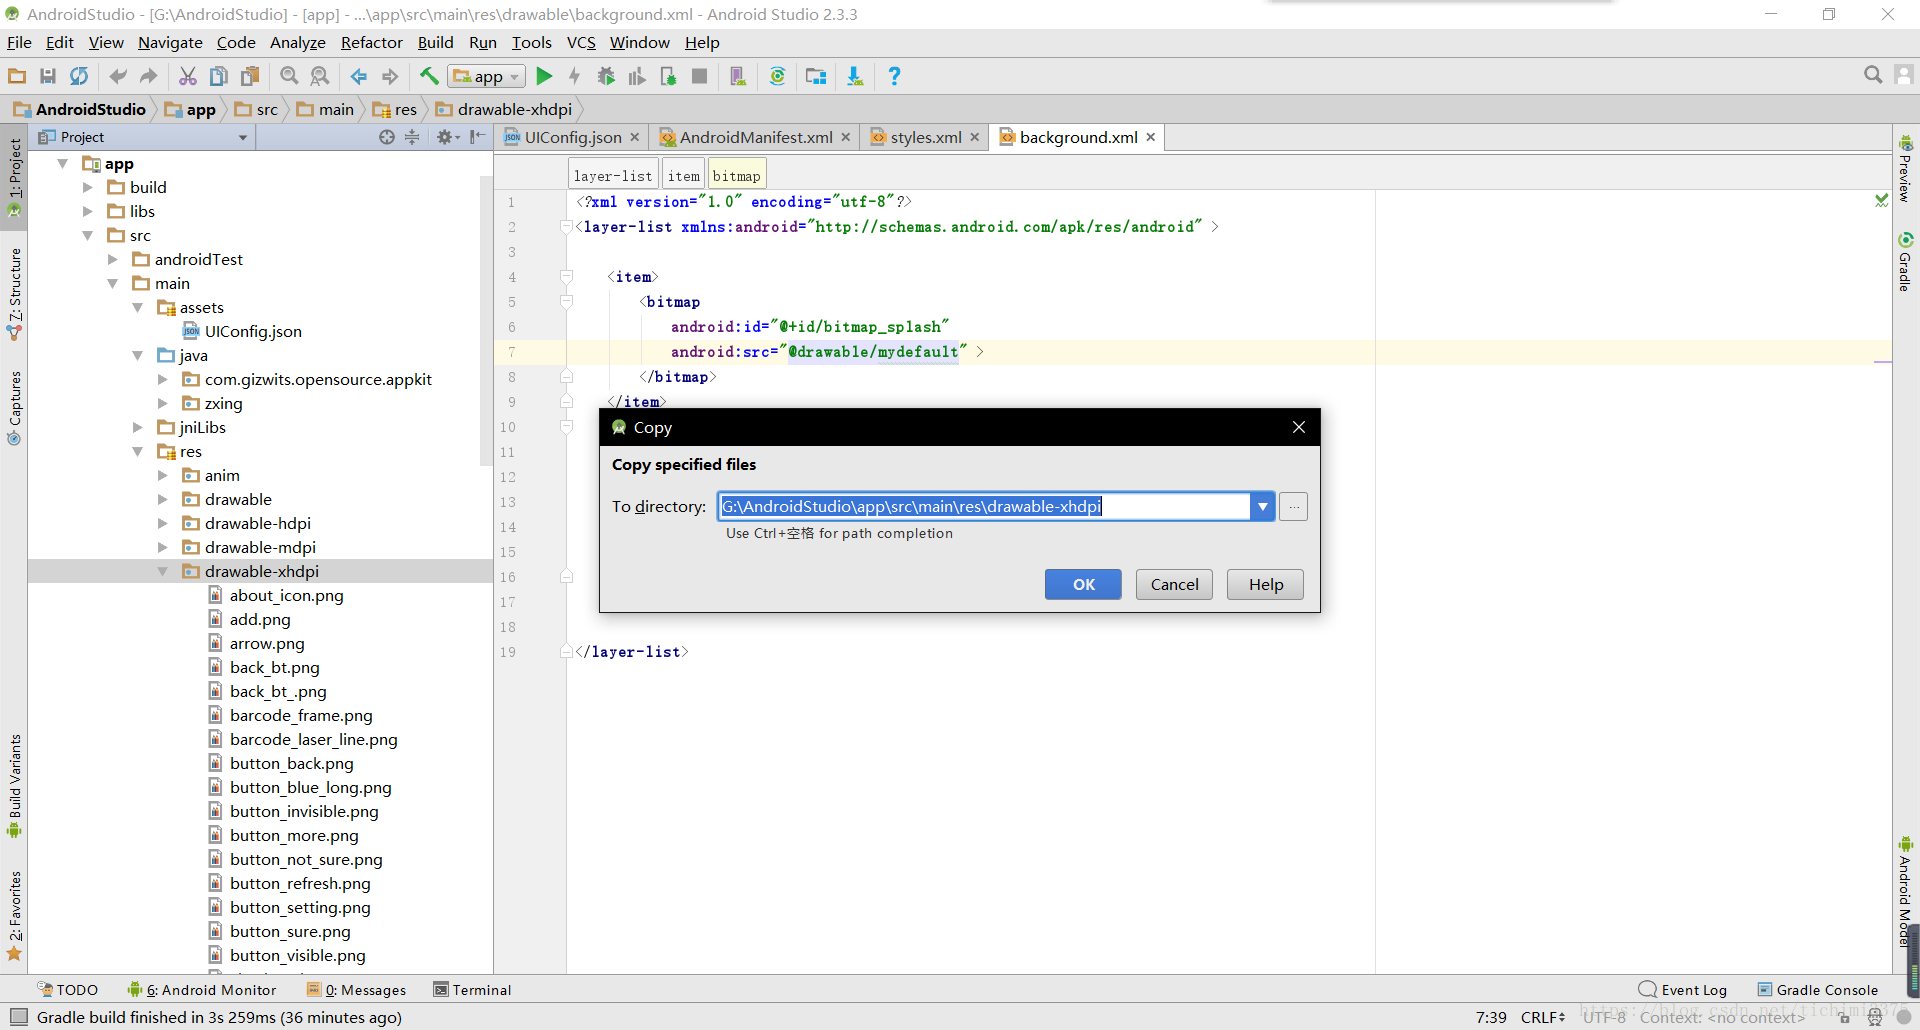
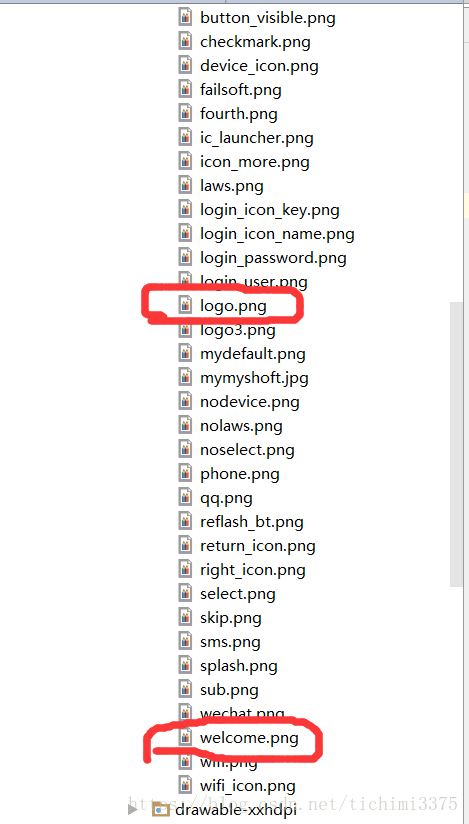
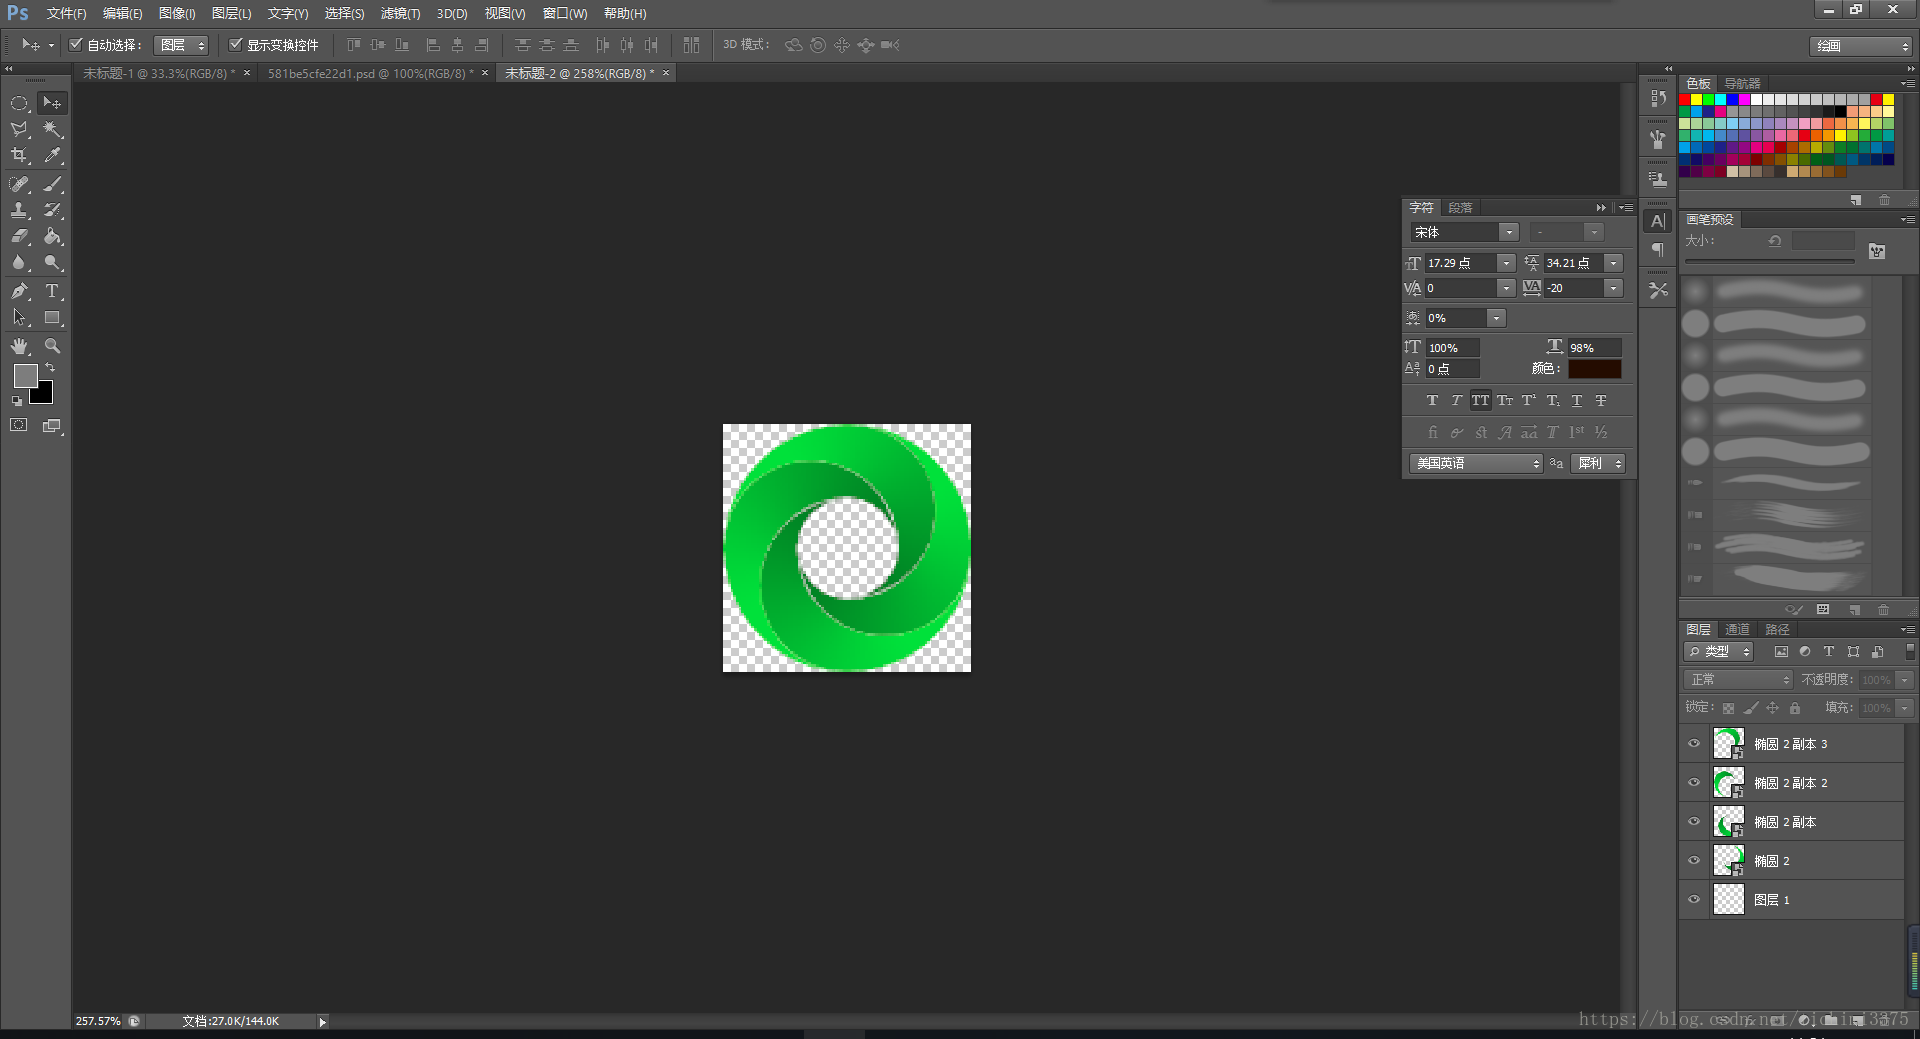
把刚才处理好的图片复制粘贴到drawable-xhdpi目录下
先来更换启动图,找到下图的目录文件AndroidManifest.xml的第70行,按住Ctrl,鼠标左击@style/My Start
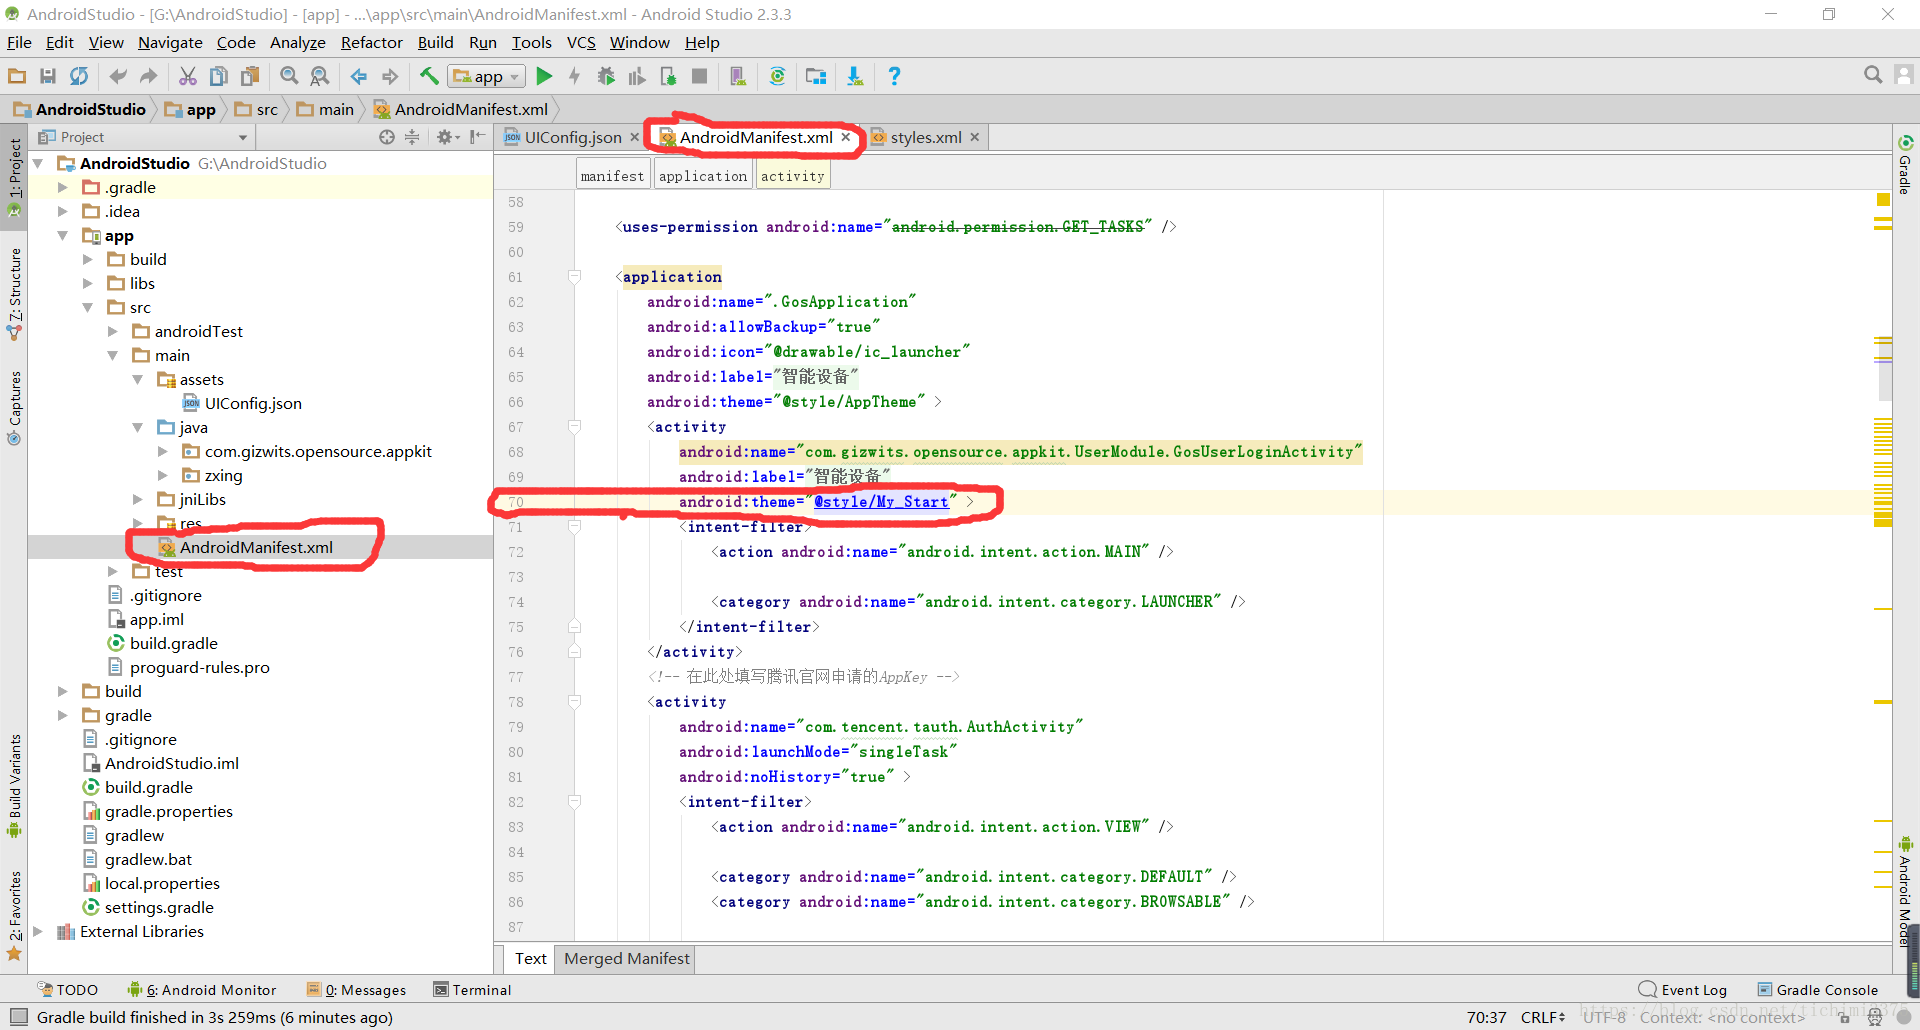
然后自动进入style.xml目录下,找到第60行,按住Crtl,鼠标左击@drawable/background 
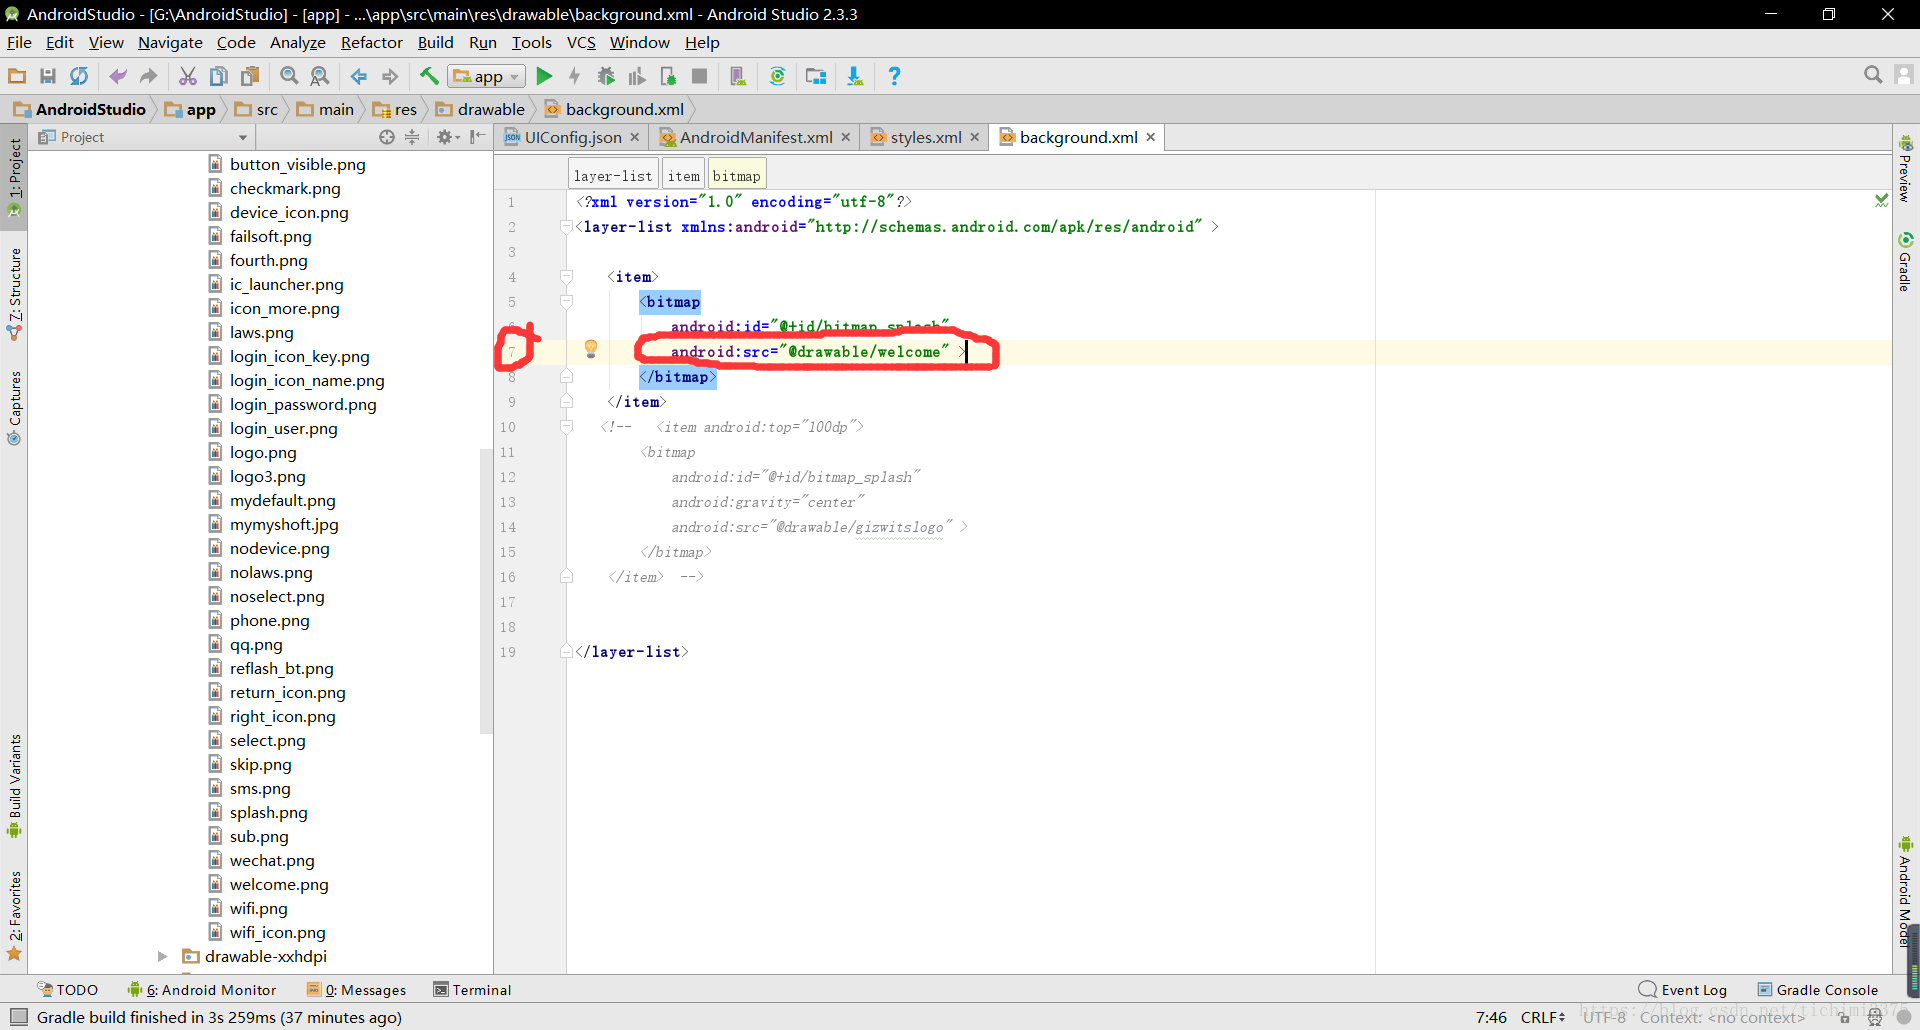
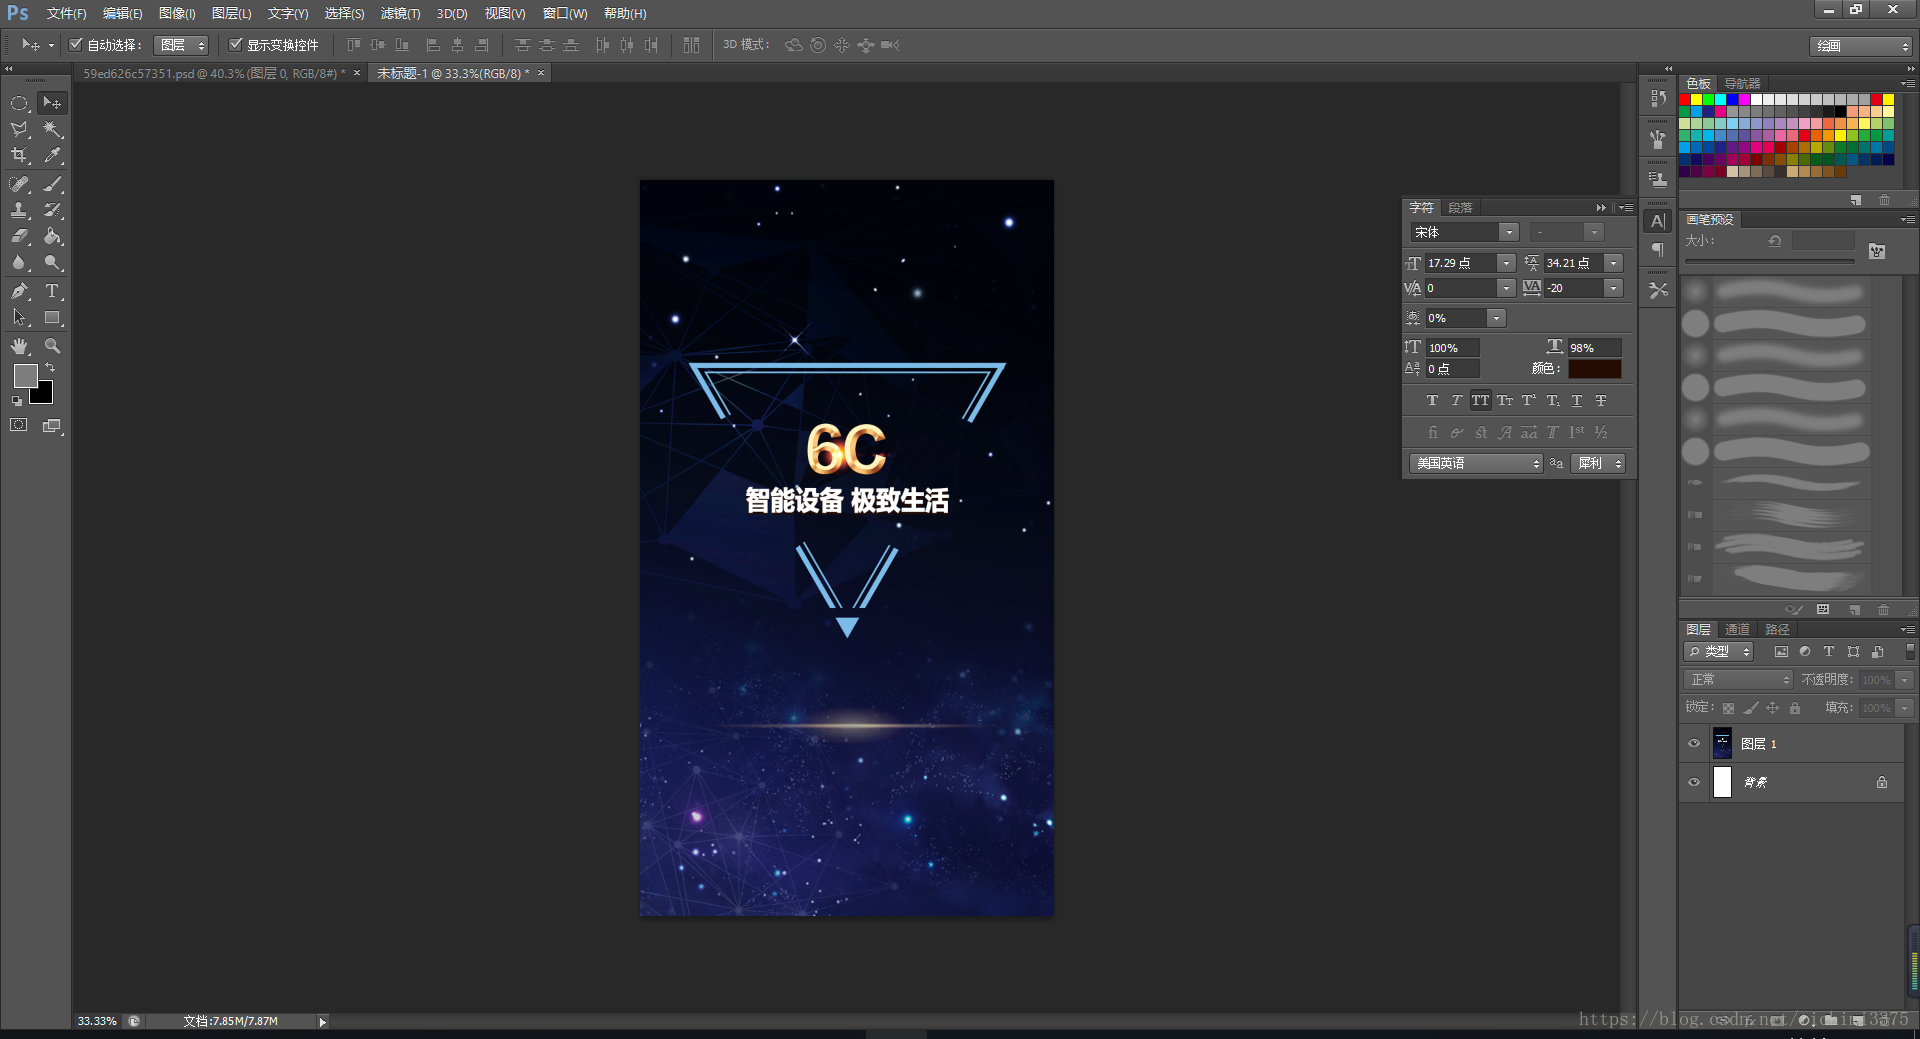
跳转到background.xml文件,修改第7行的路径为我们制作并粘贴到工程下的welcome.png,只需更改上文件名即可
启动图就算改完了,接下来改logo,还是AndroidManifest.xml文件,找到第64行 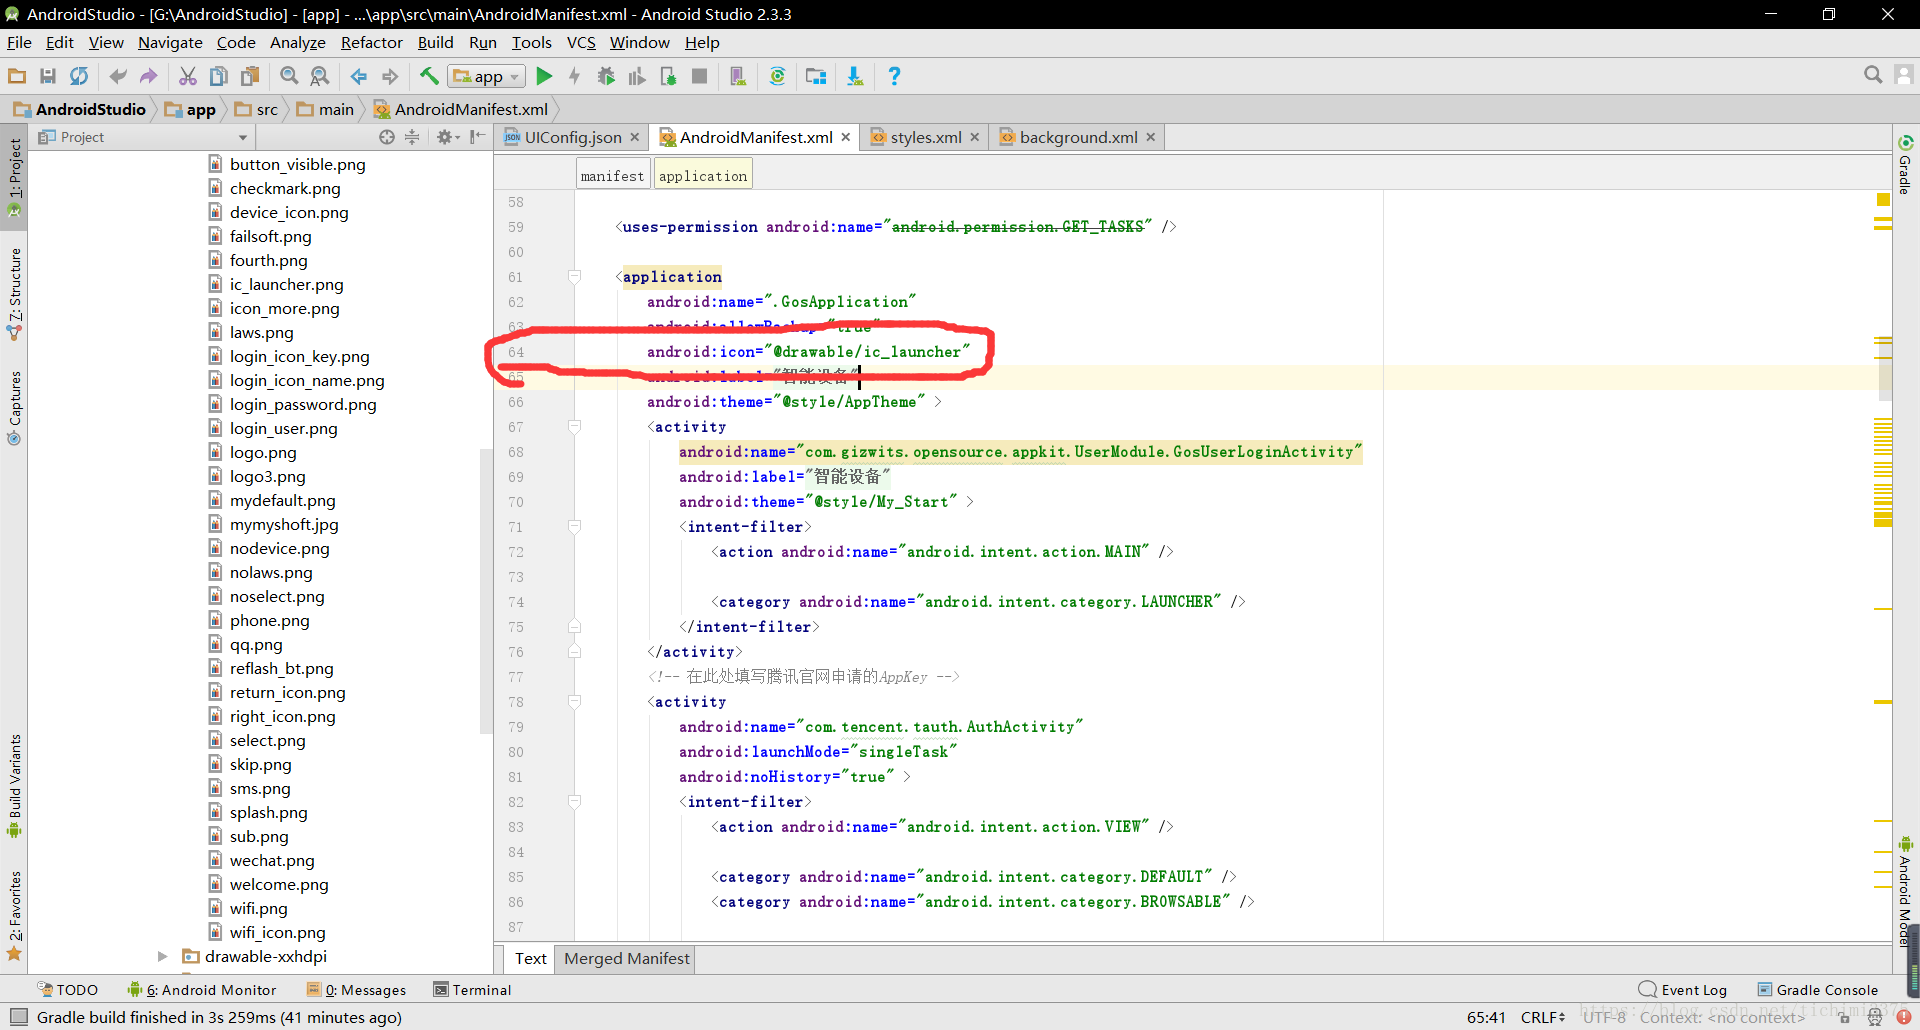
同样的修改文件名换成我们自己制作的图片 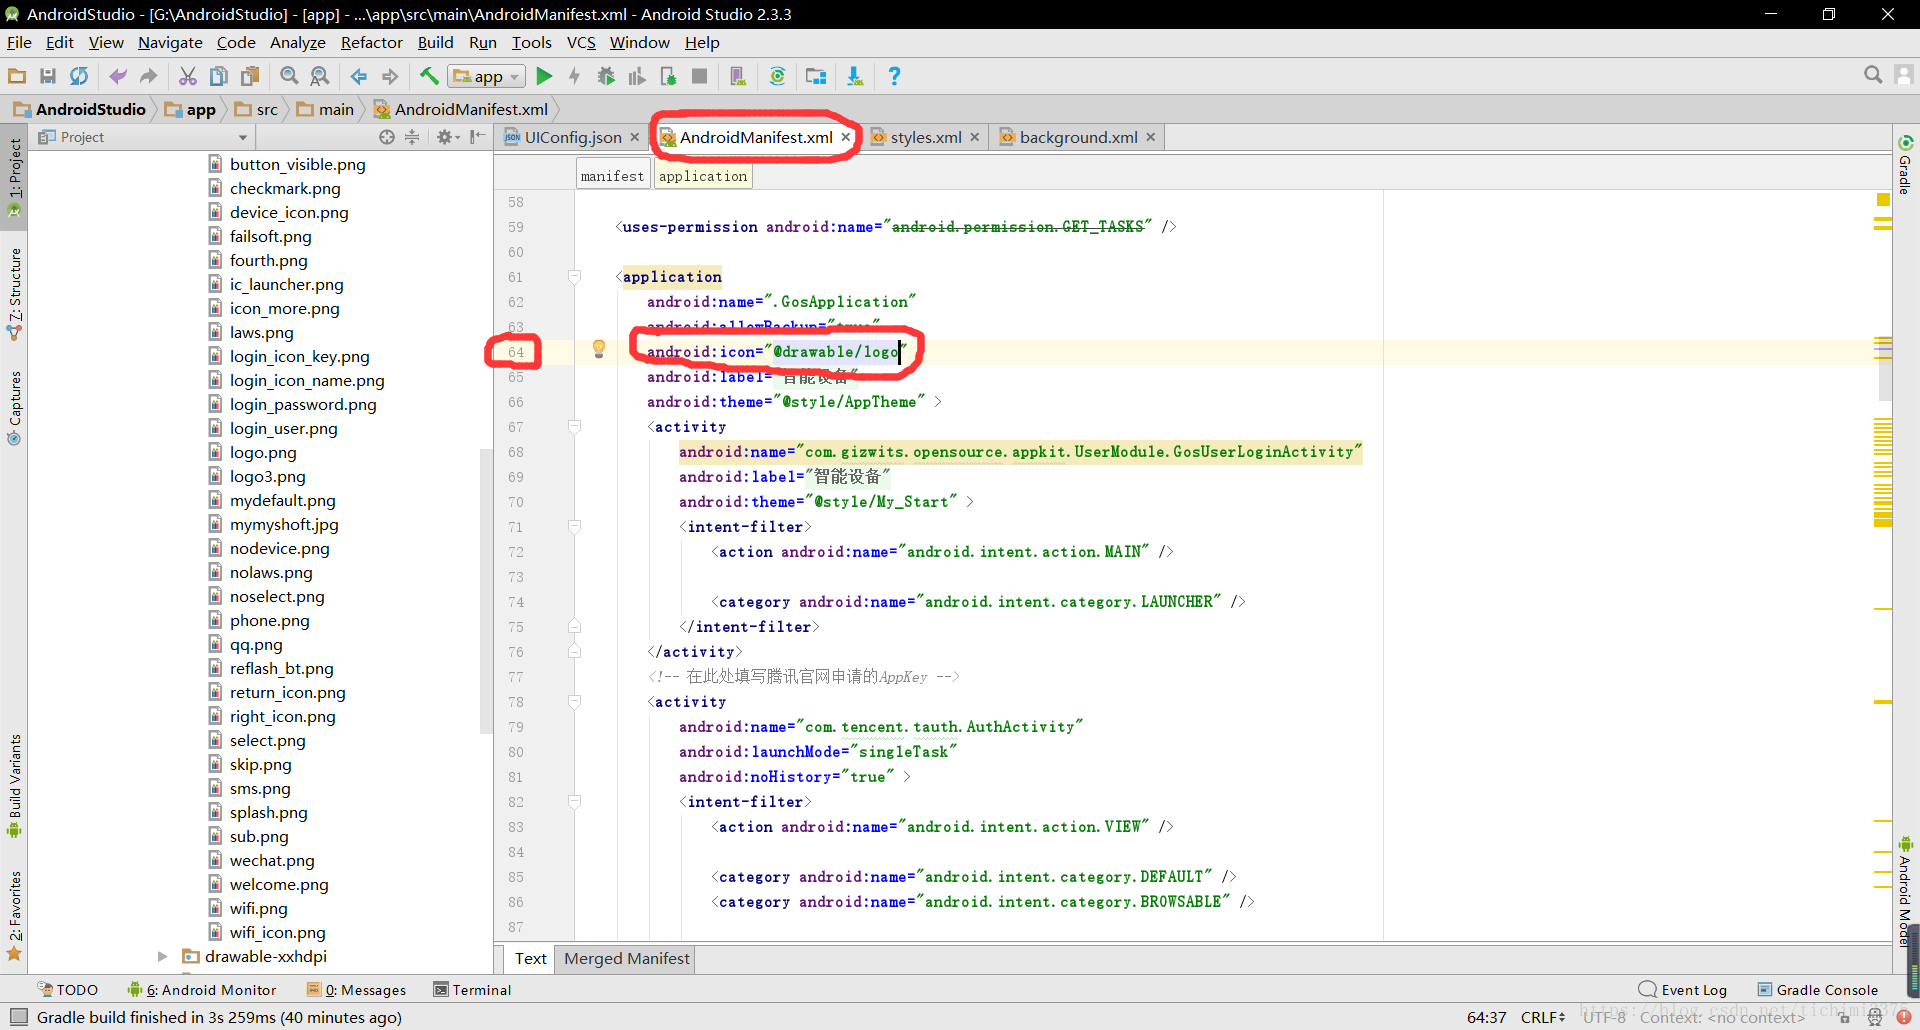
这样logo也改好了,然后我们改APP设备名前面的小图标,首先找到GosDeviceListActivity.java,然后找到第113行,按住Ctrl,鼠标左击GosDeviceAdapter 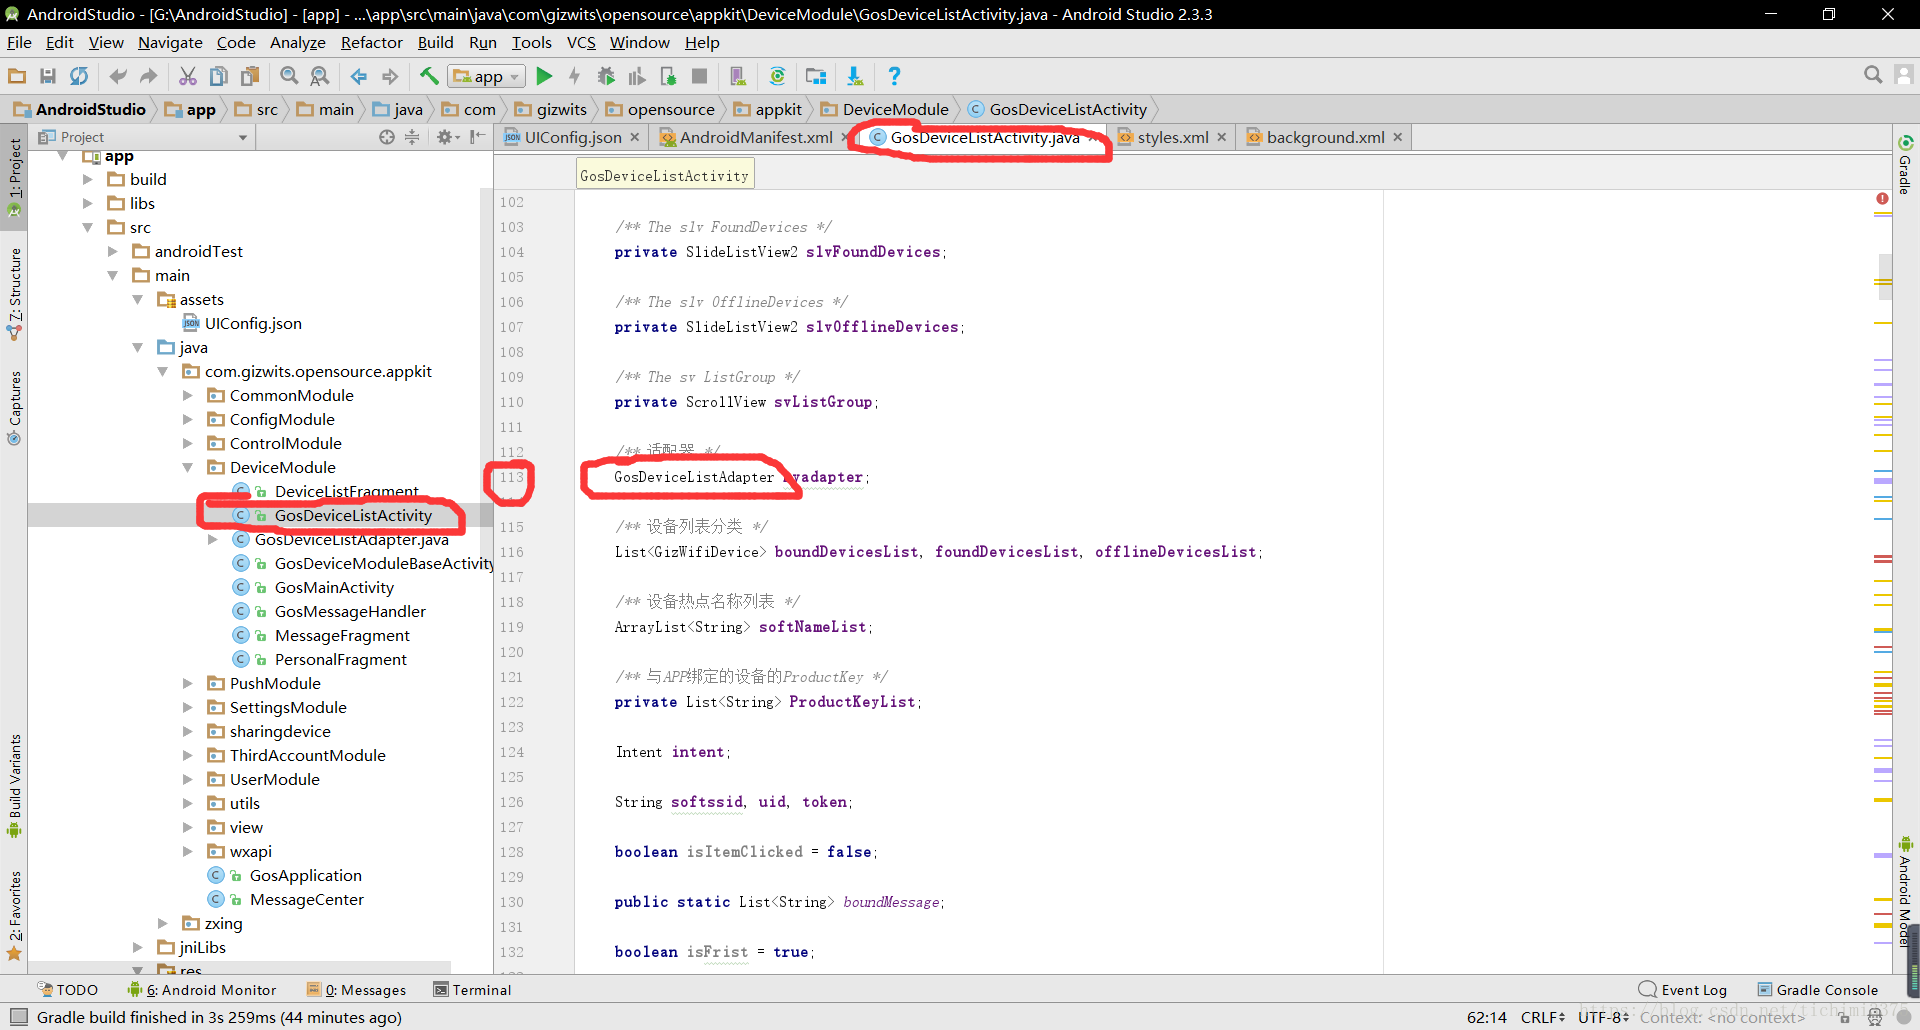
跳转到 GosDeviceAdapter.java后找到第65行,按住Ctrl,鼠标左击item_gos_device_list 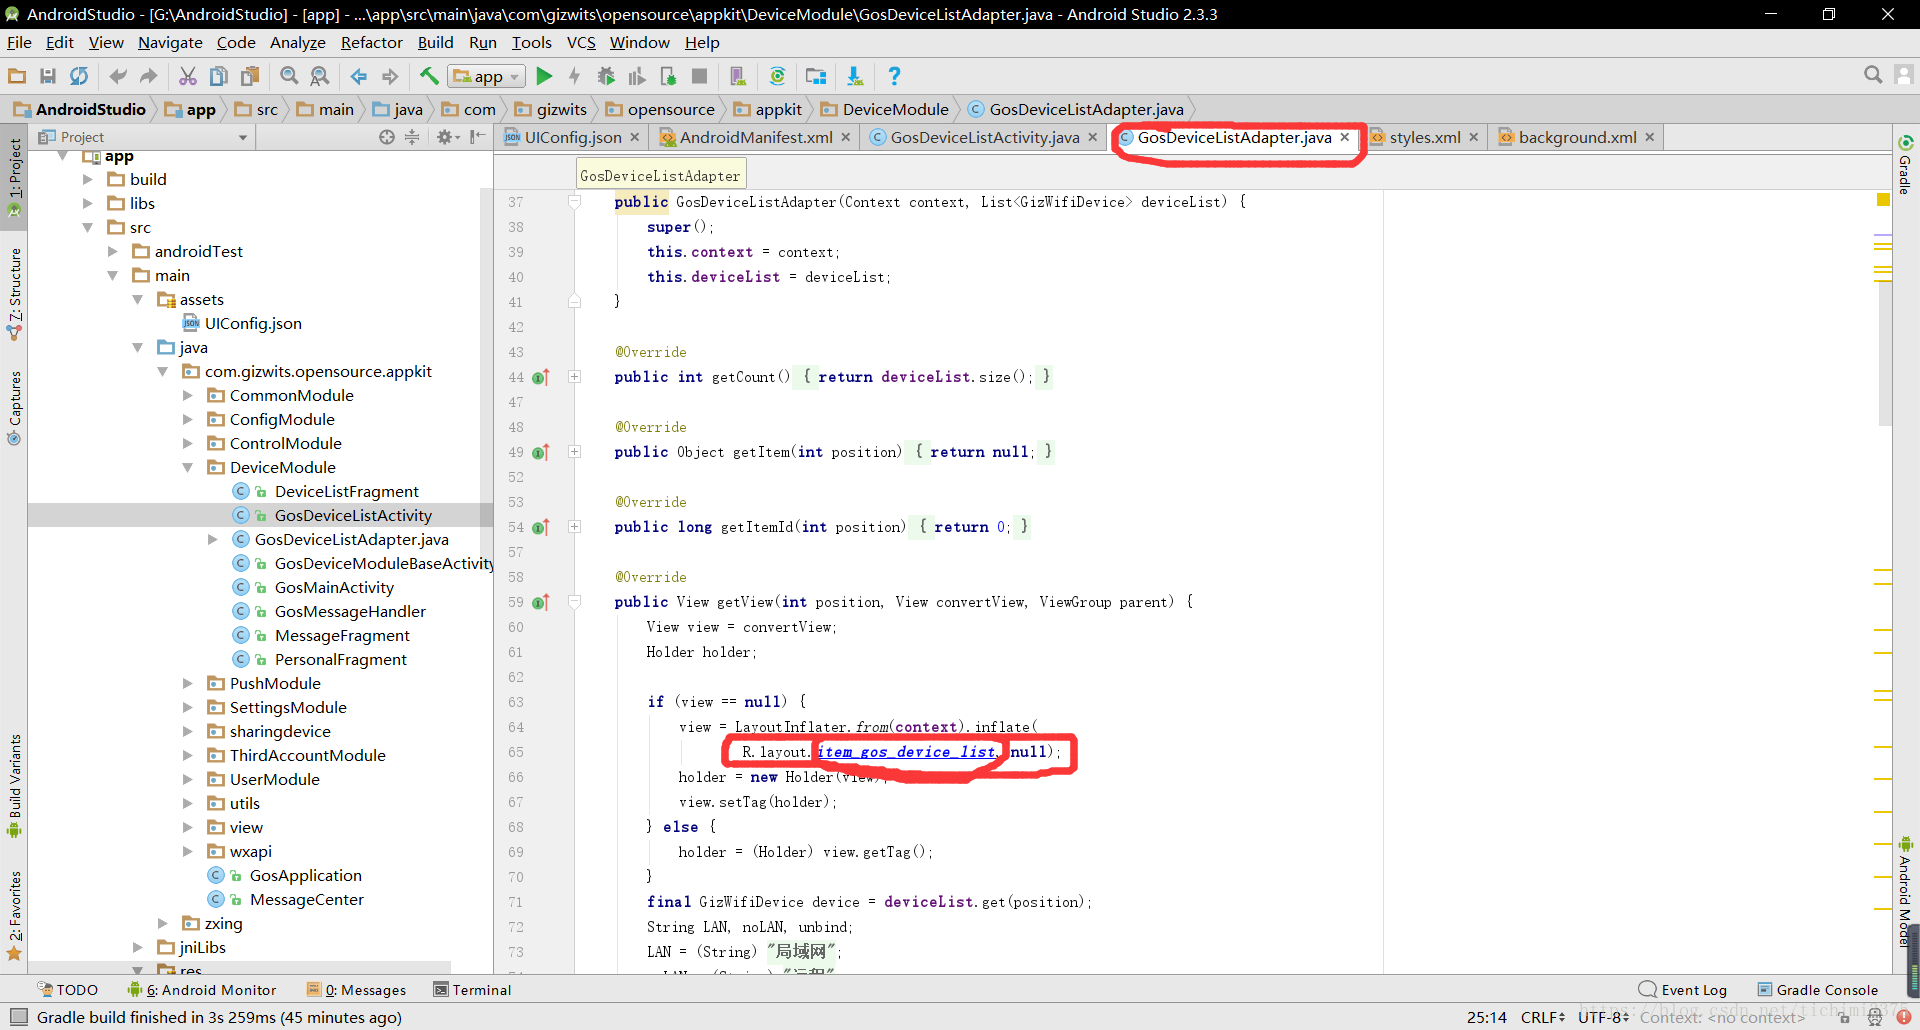
这时跳转到item_gos_device_list.xml下,点击视图左下角的Text 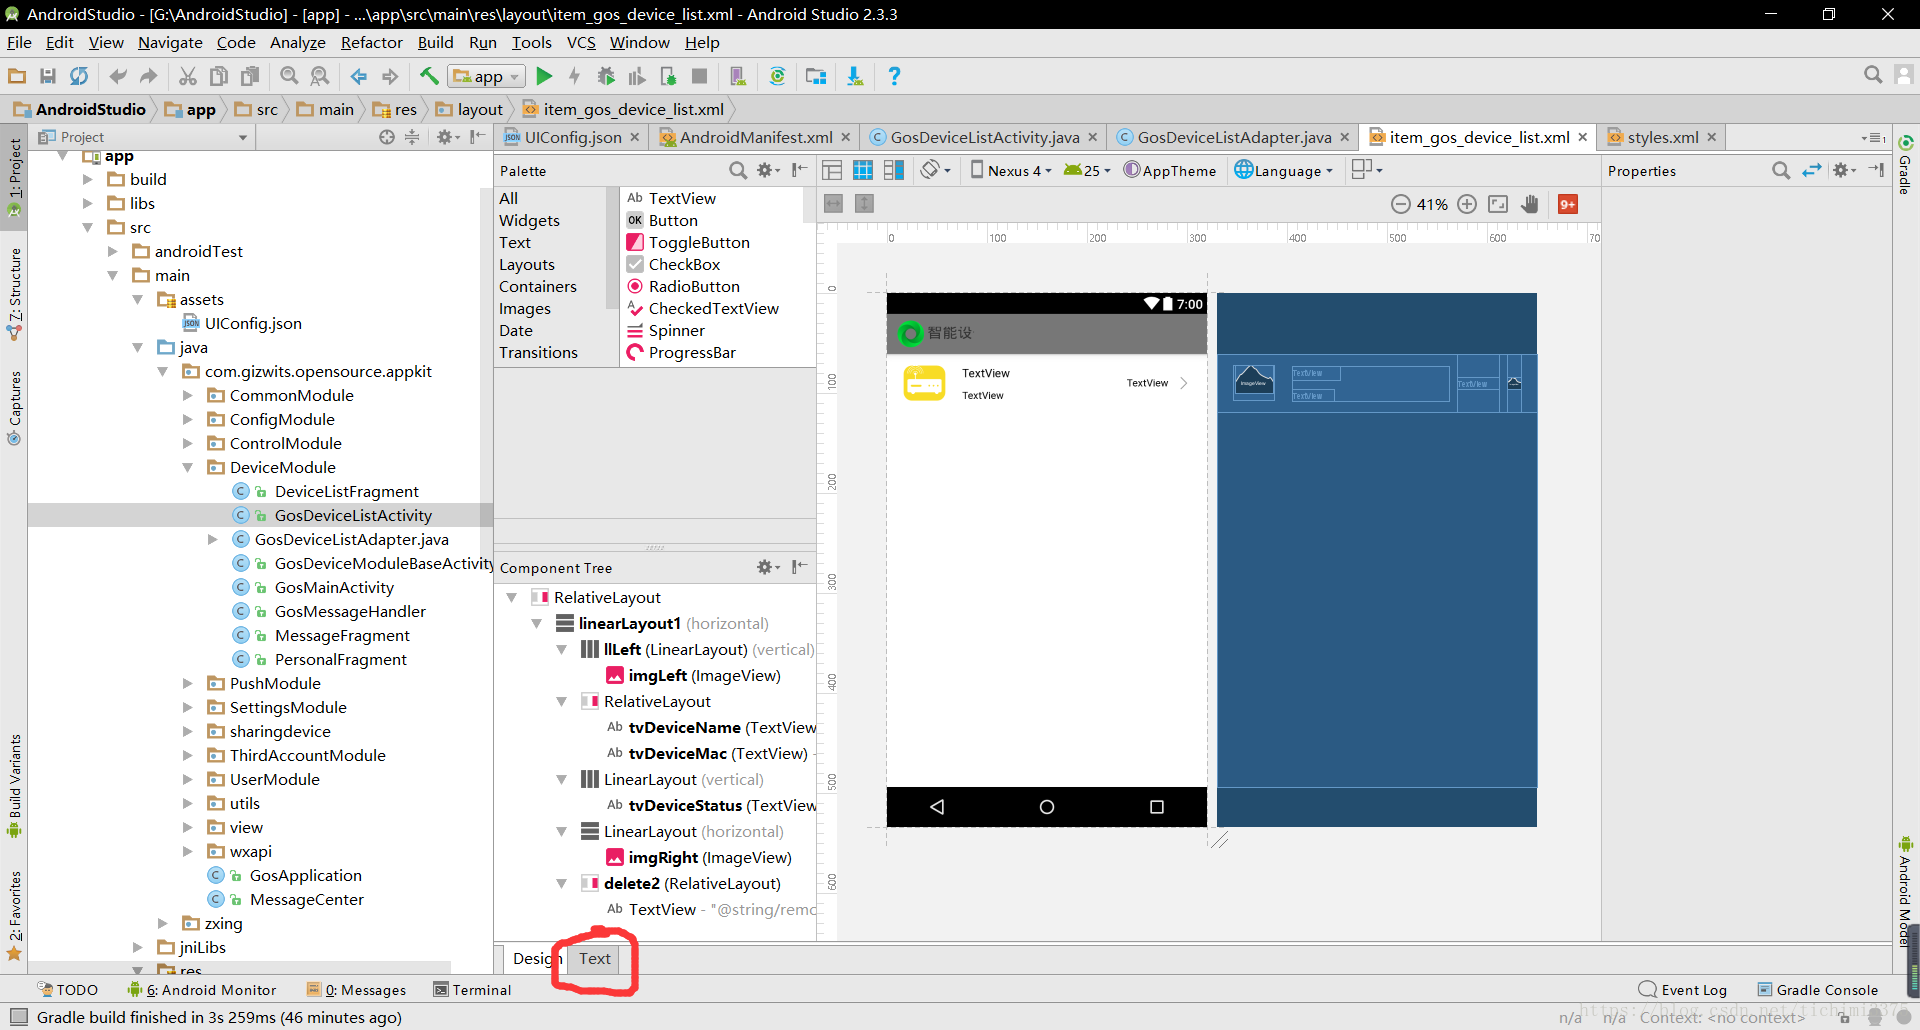
点击右侧的Preview
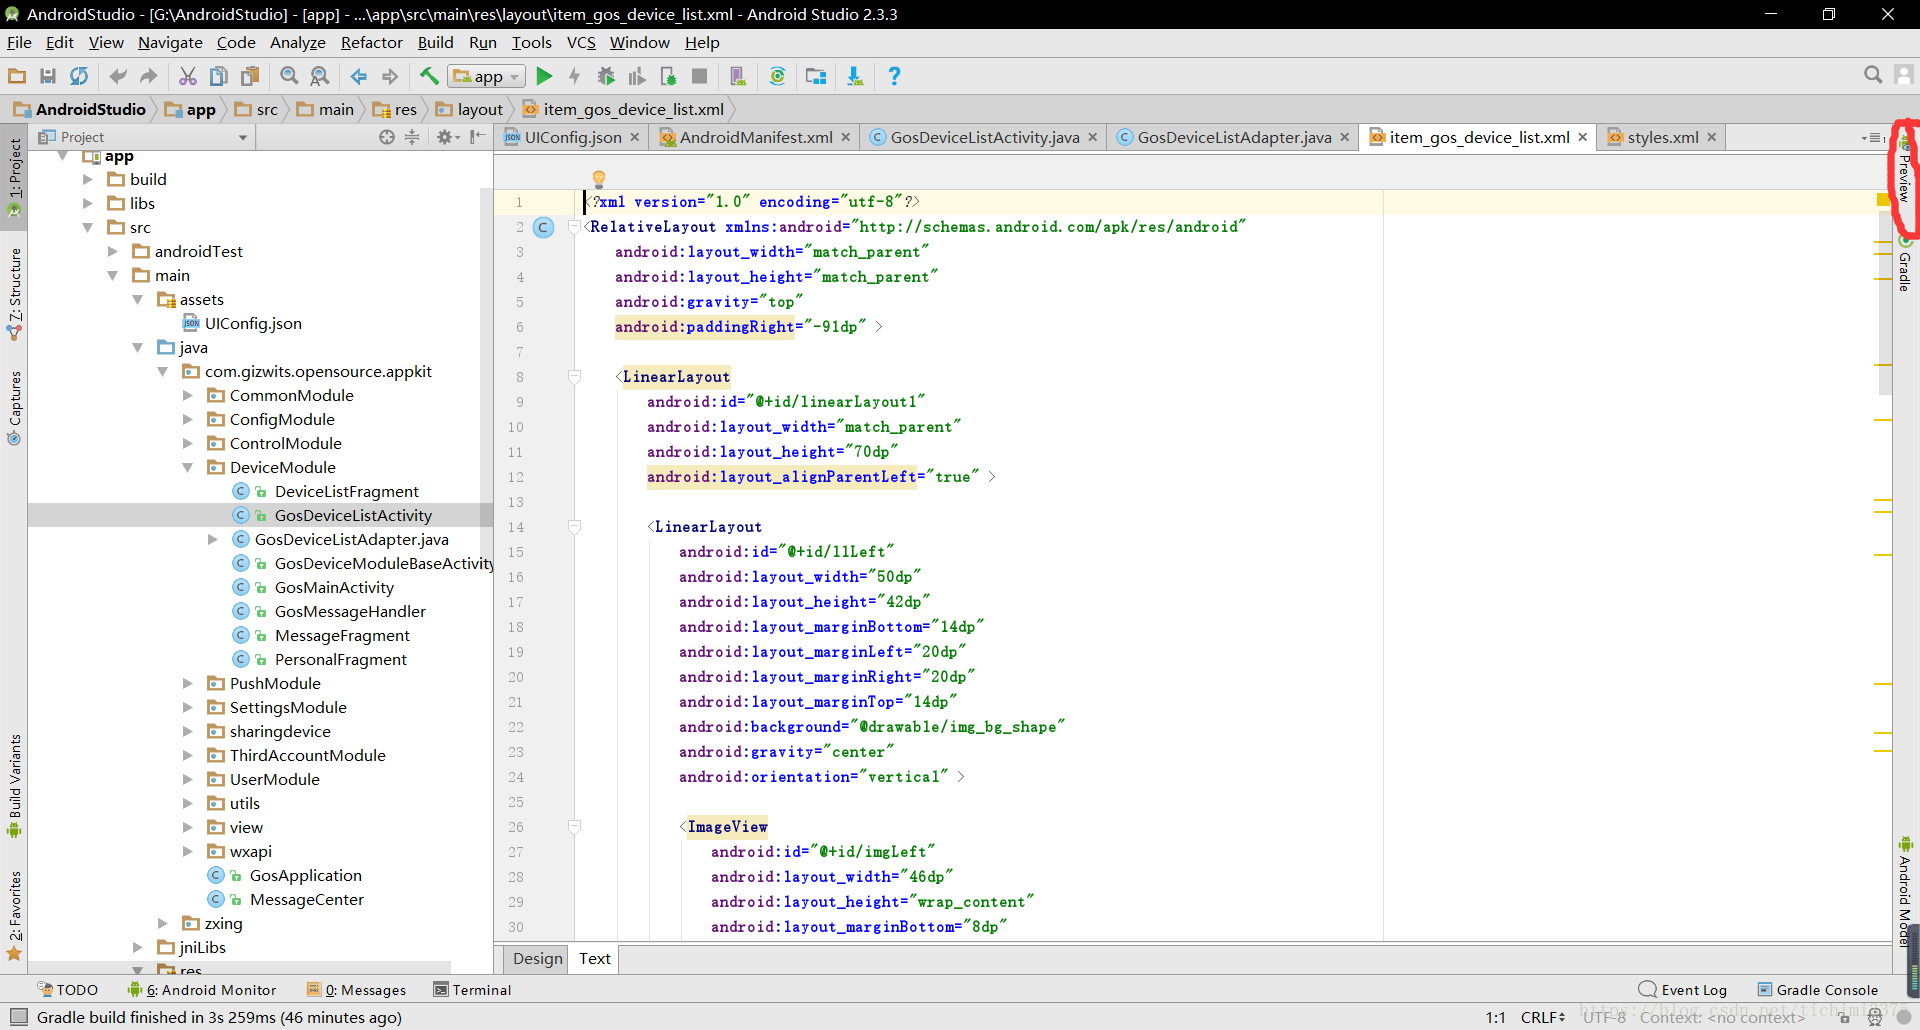
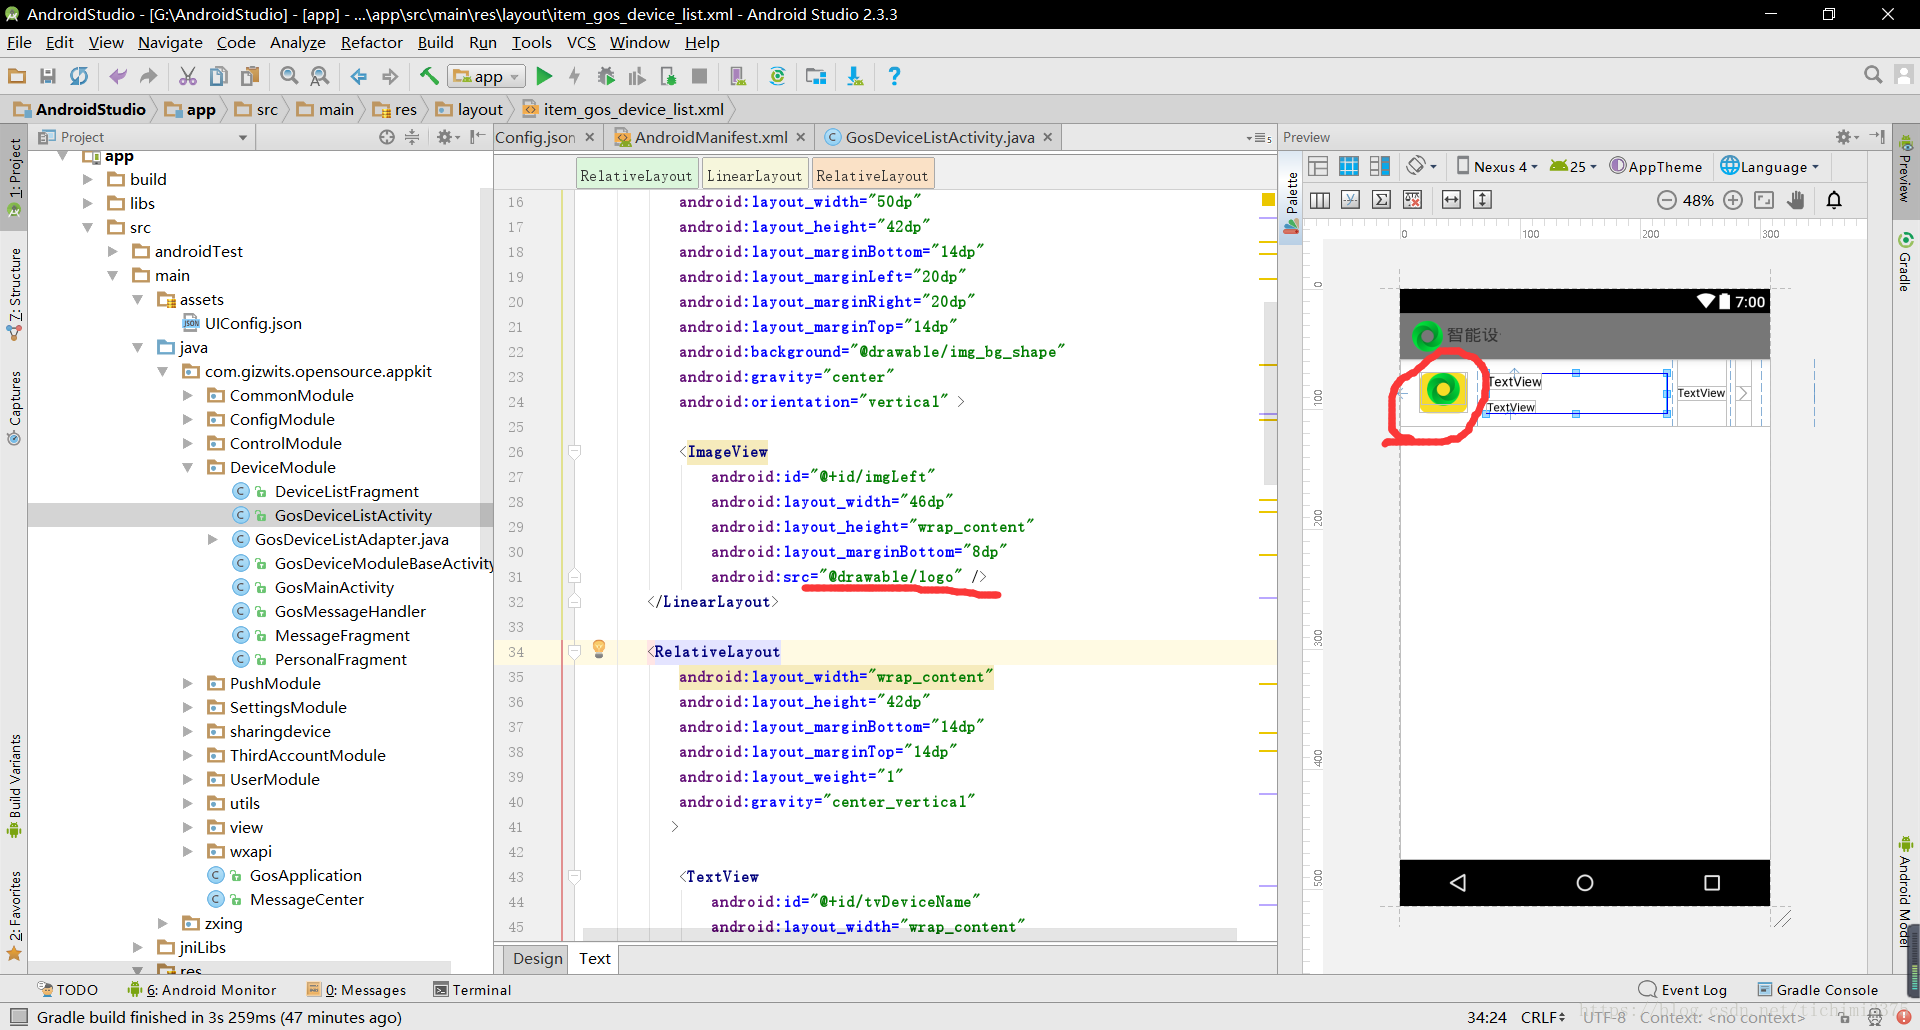
这时就出来了已连接设备时的视图,双击右侧黄色的图标,代码自动定位到这一部分,修改路径为我们的logo路径 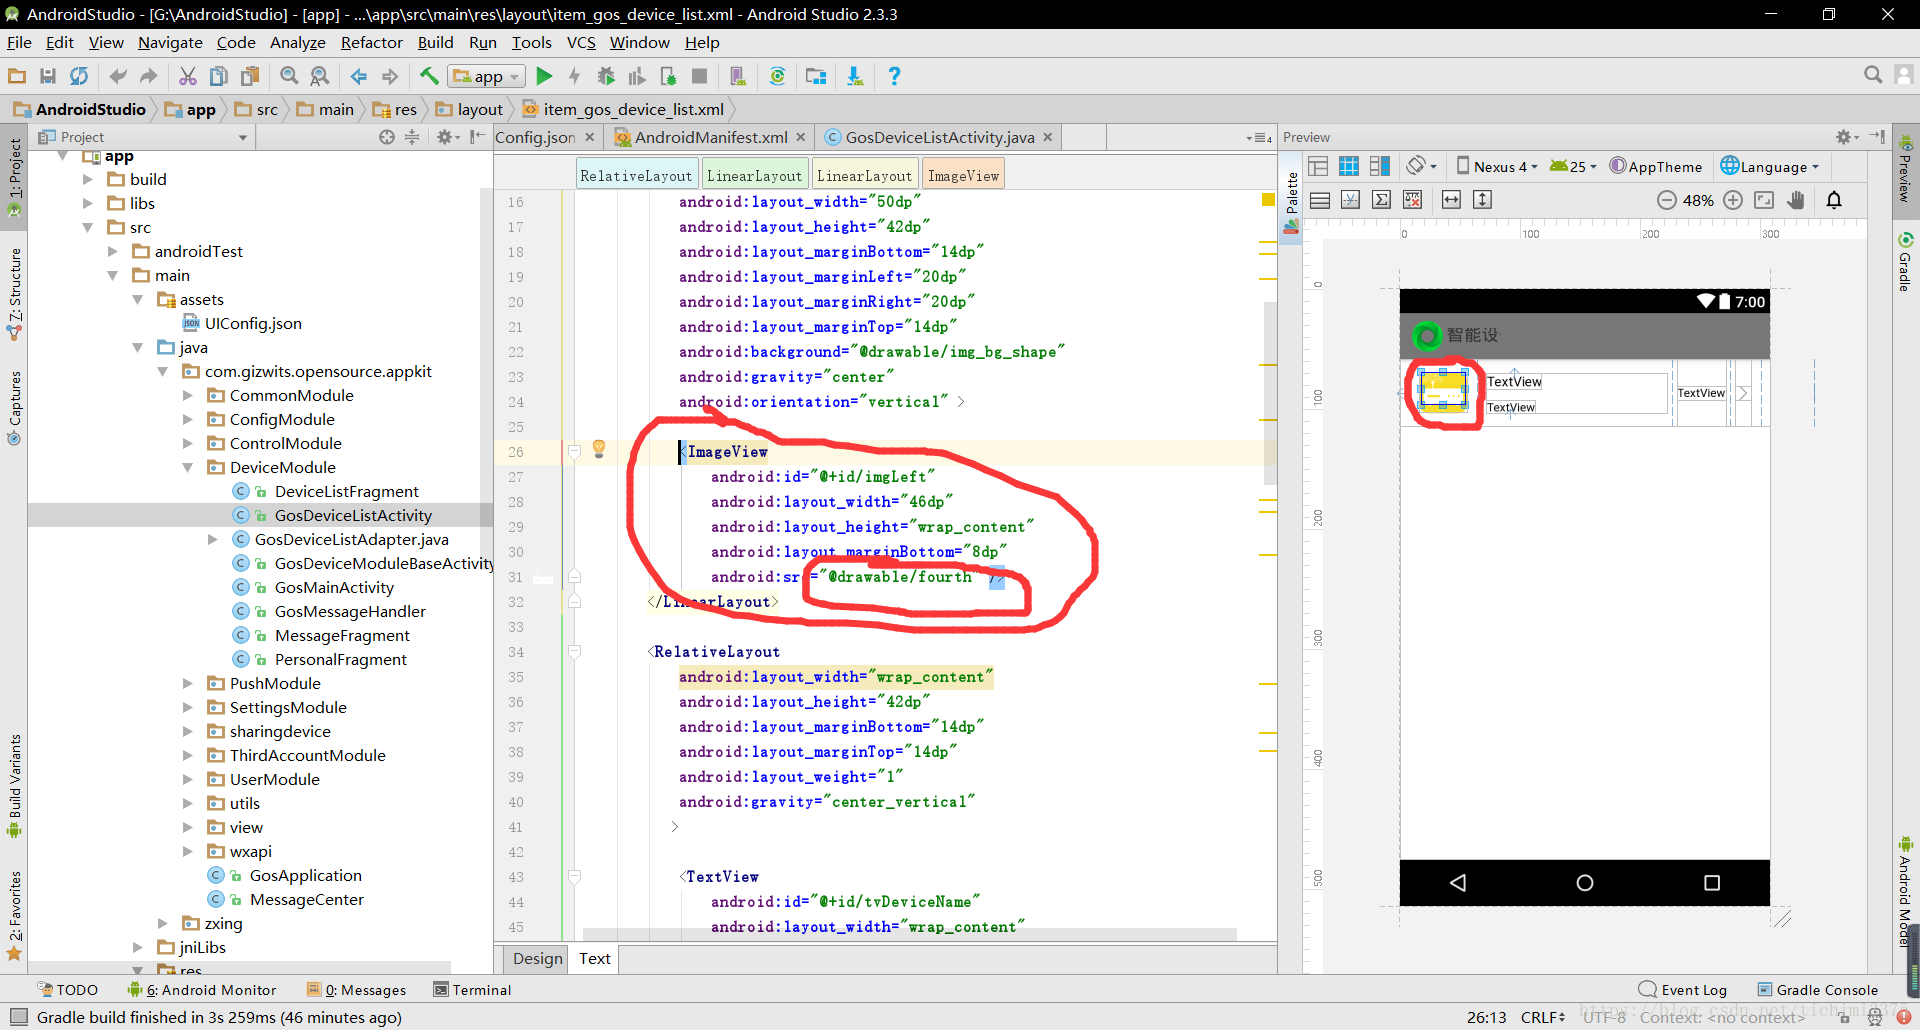
这样,设备的图标也改好了
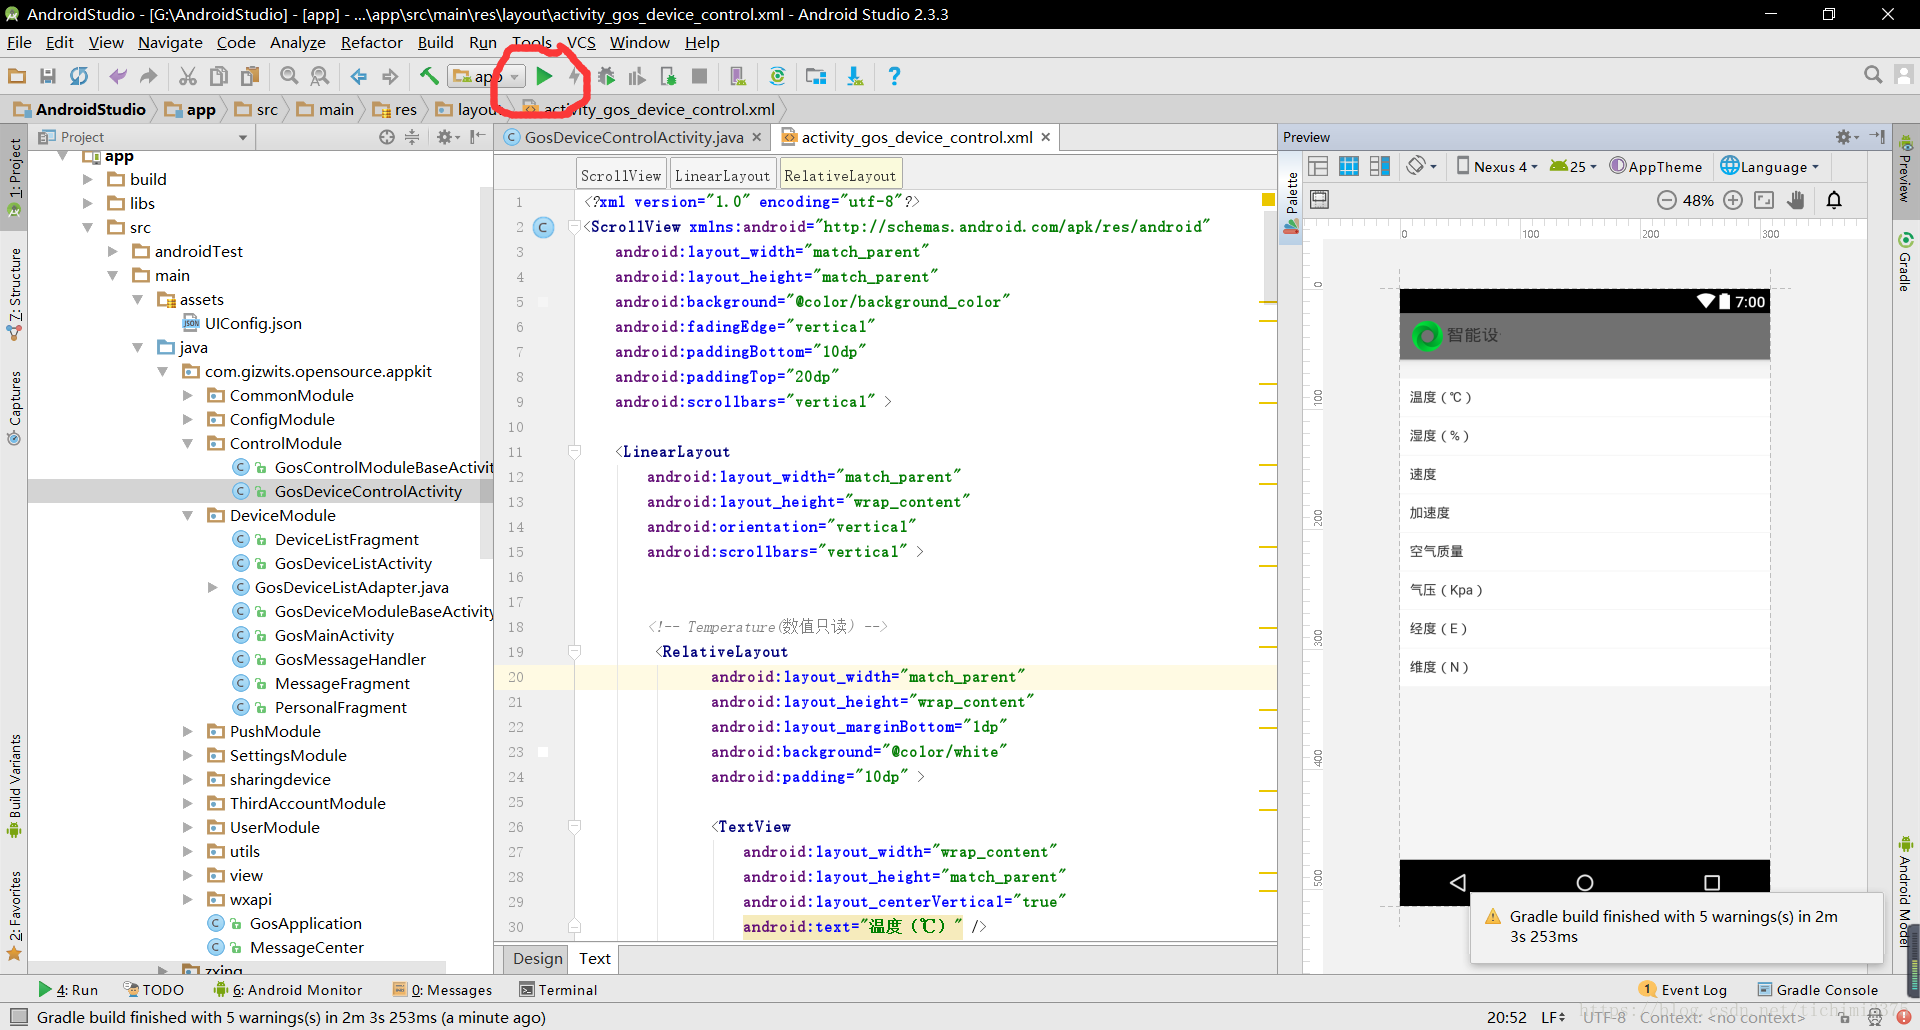
最后我们更改监控界面,找到GosDeviceControlActivity.java,然后找到第93行,按住Ctrl,左击activity_gos_device_control 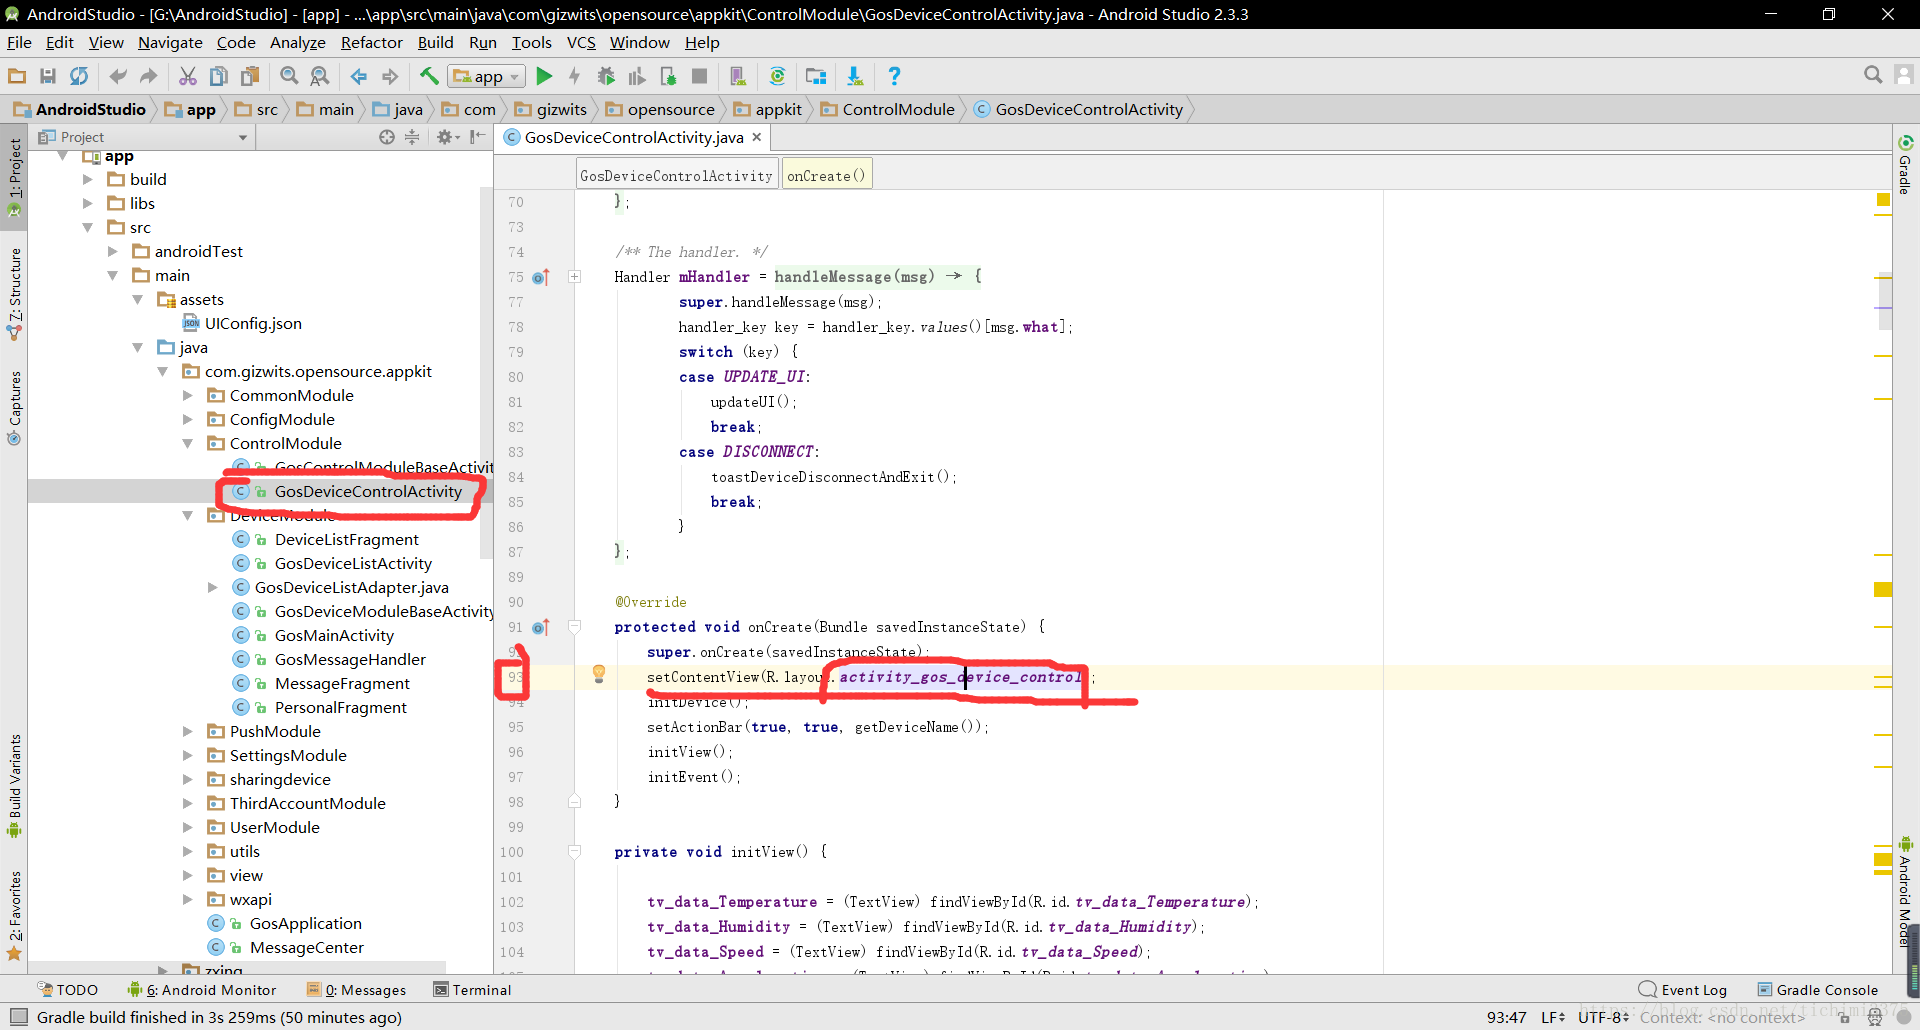
跳转到监控界面
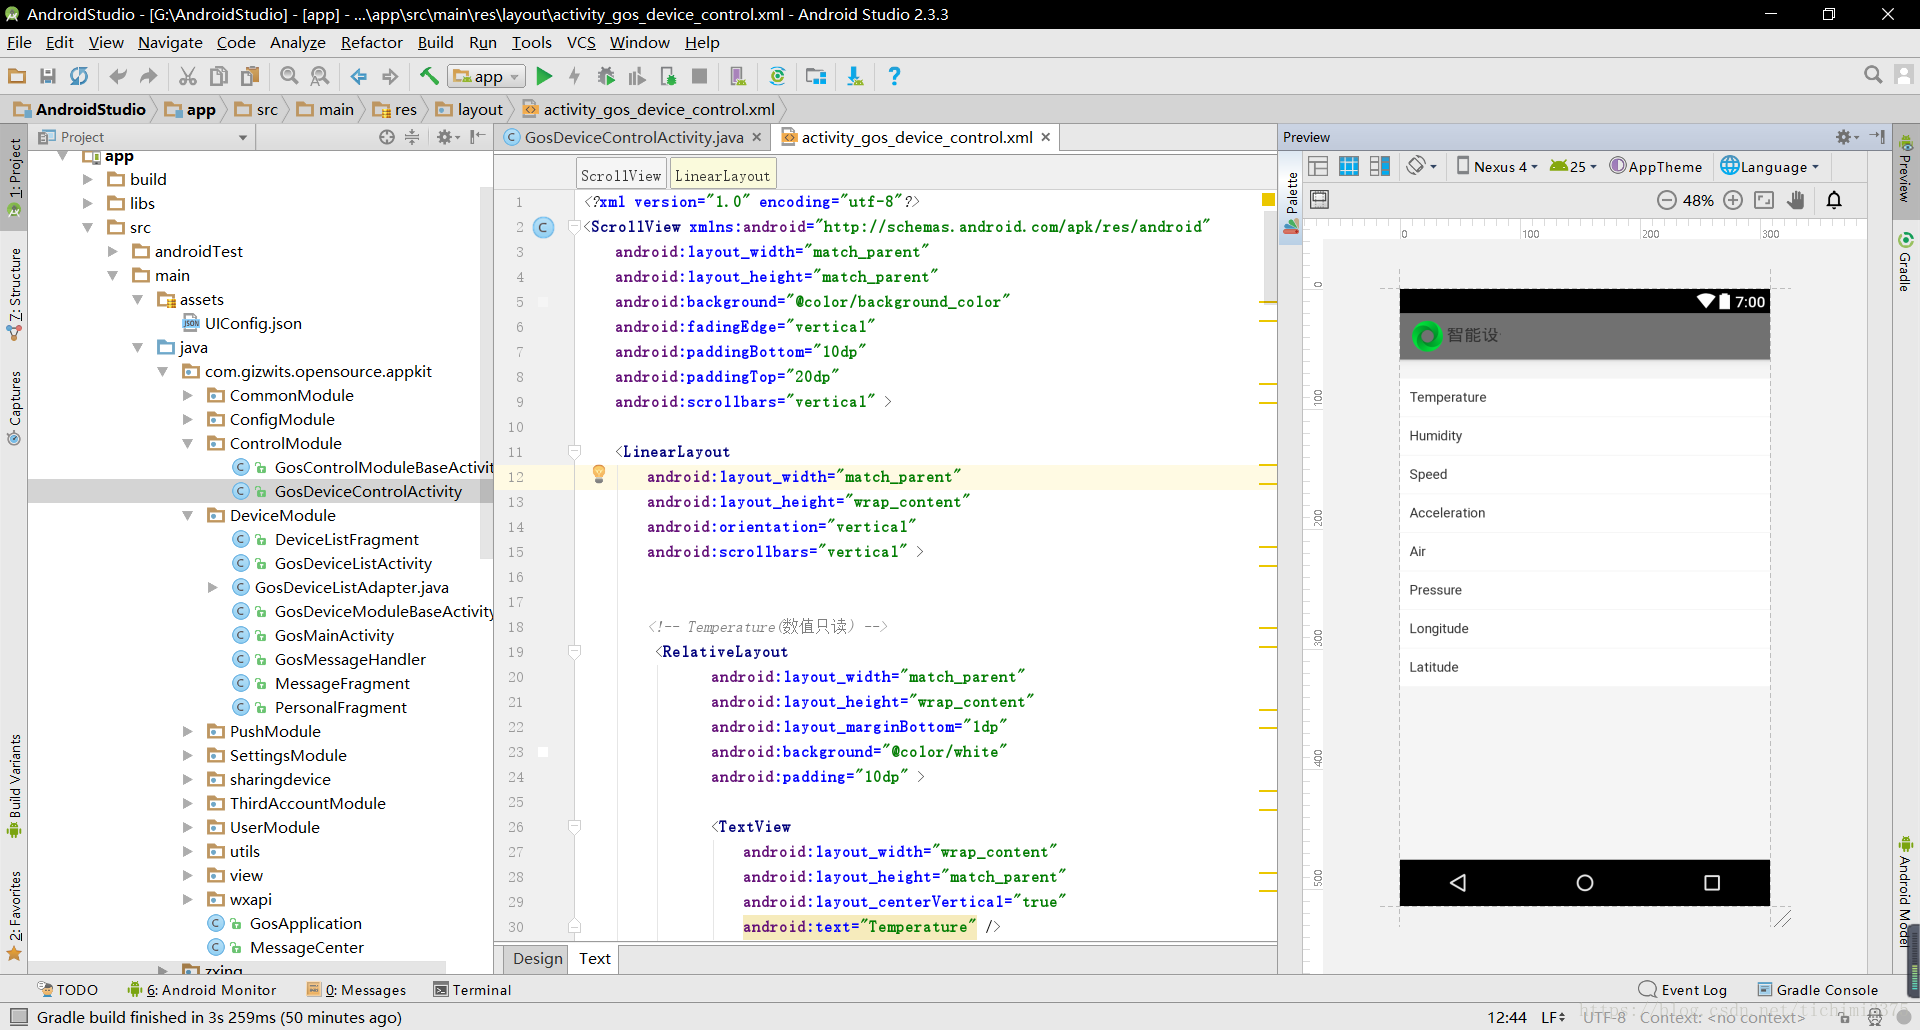
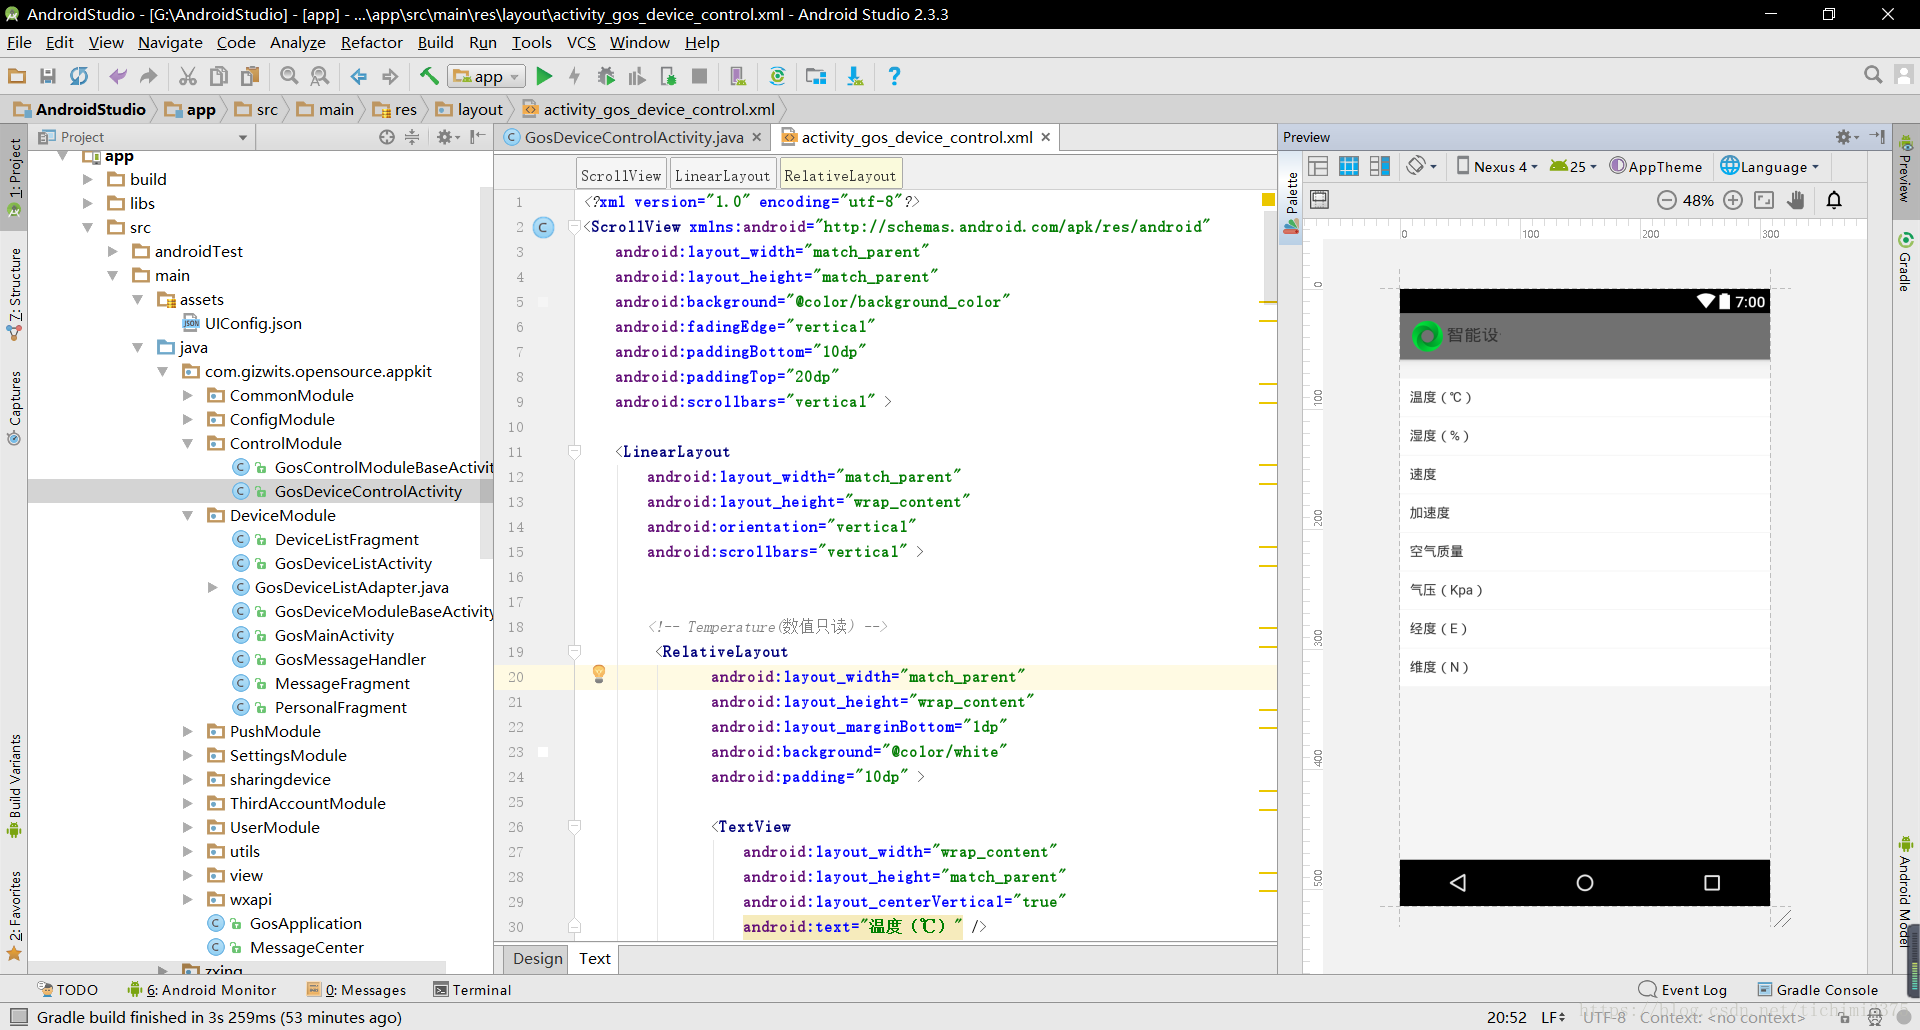
双击对应的监控项名称,代码自动跳转,修改text项为中文名称 
最后效果如下
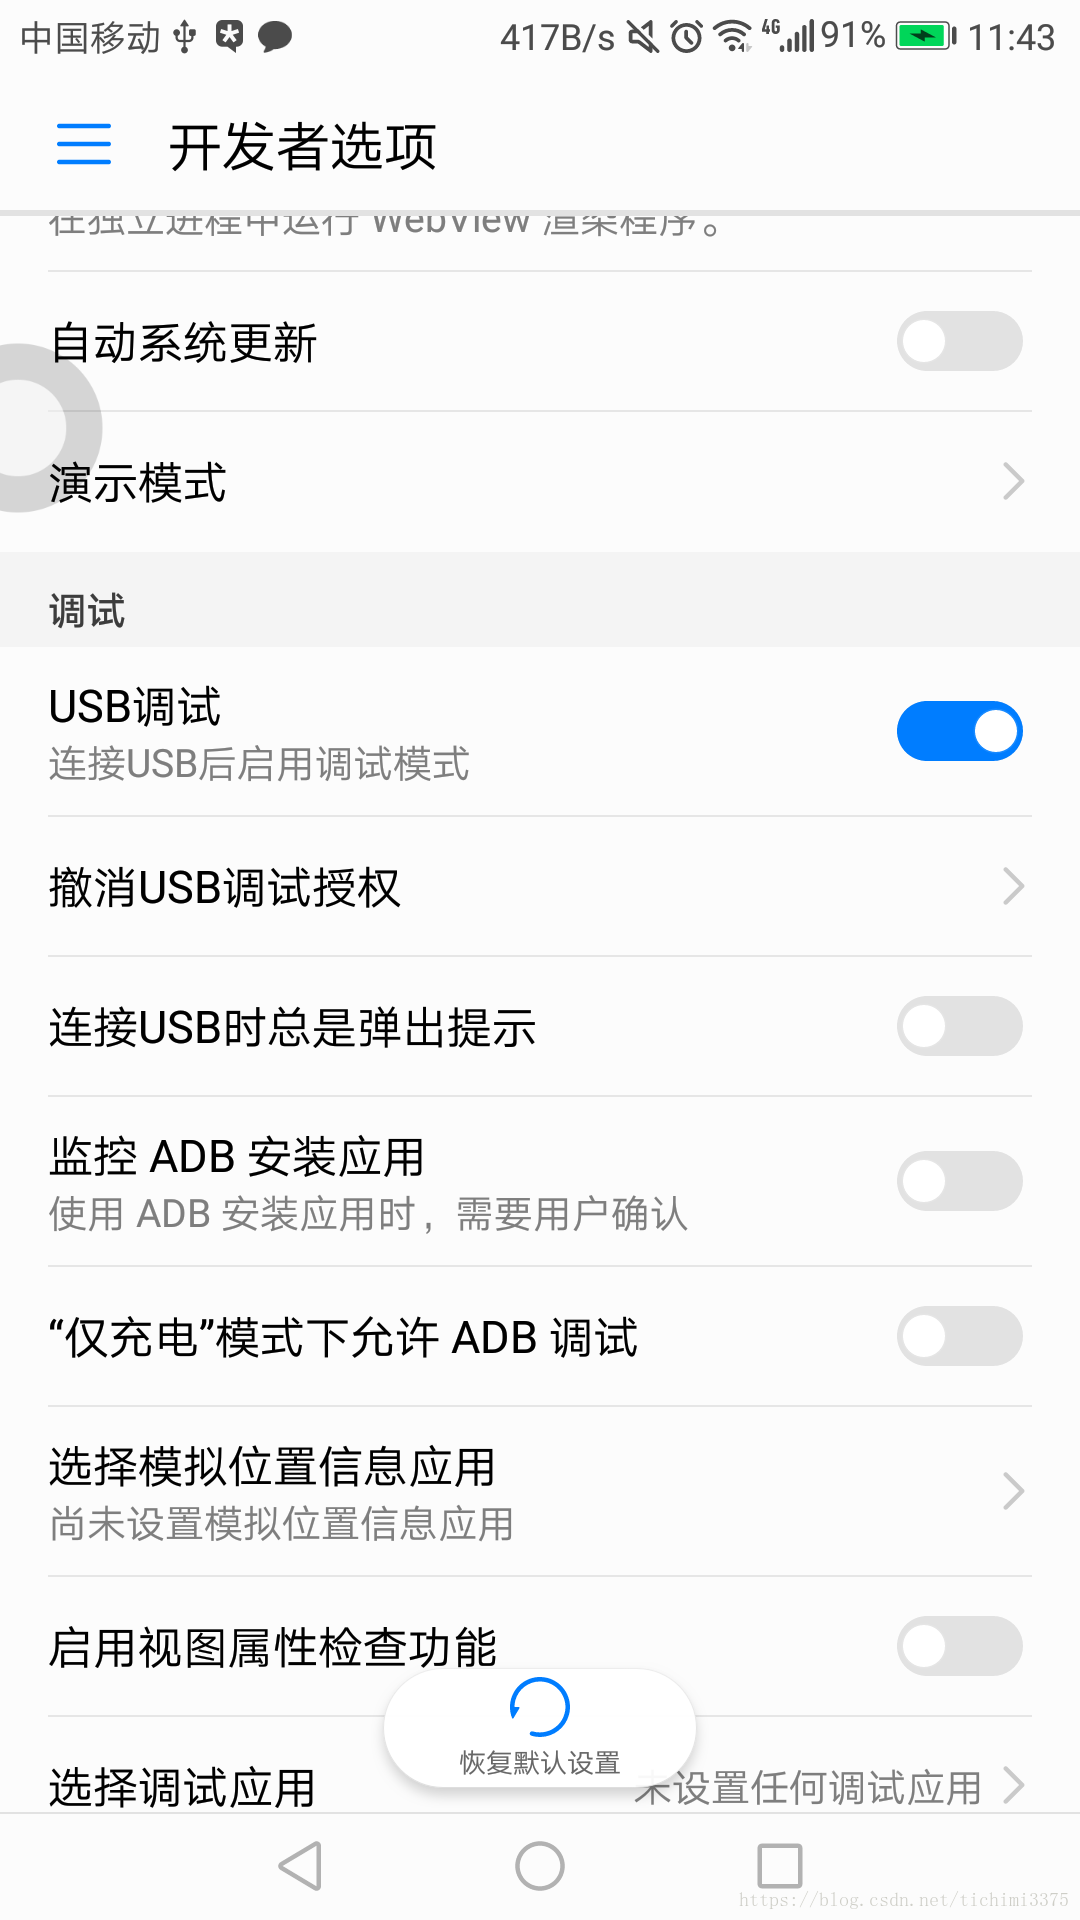
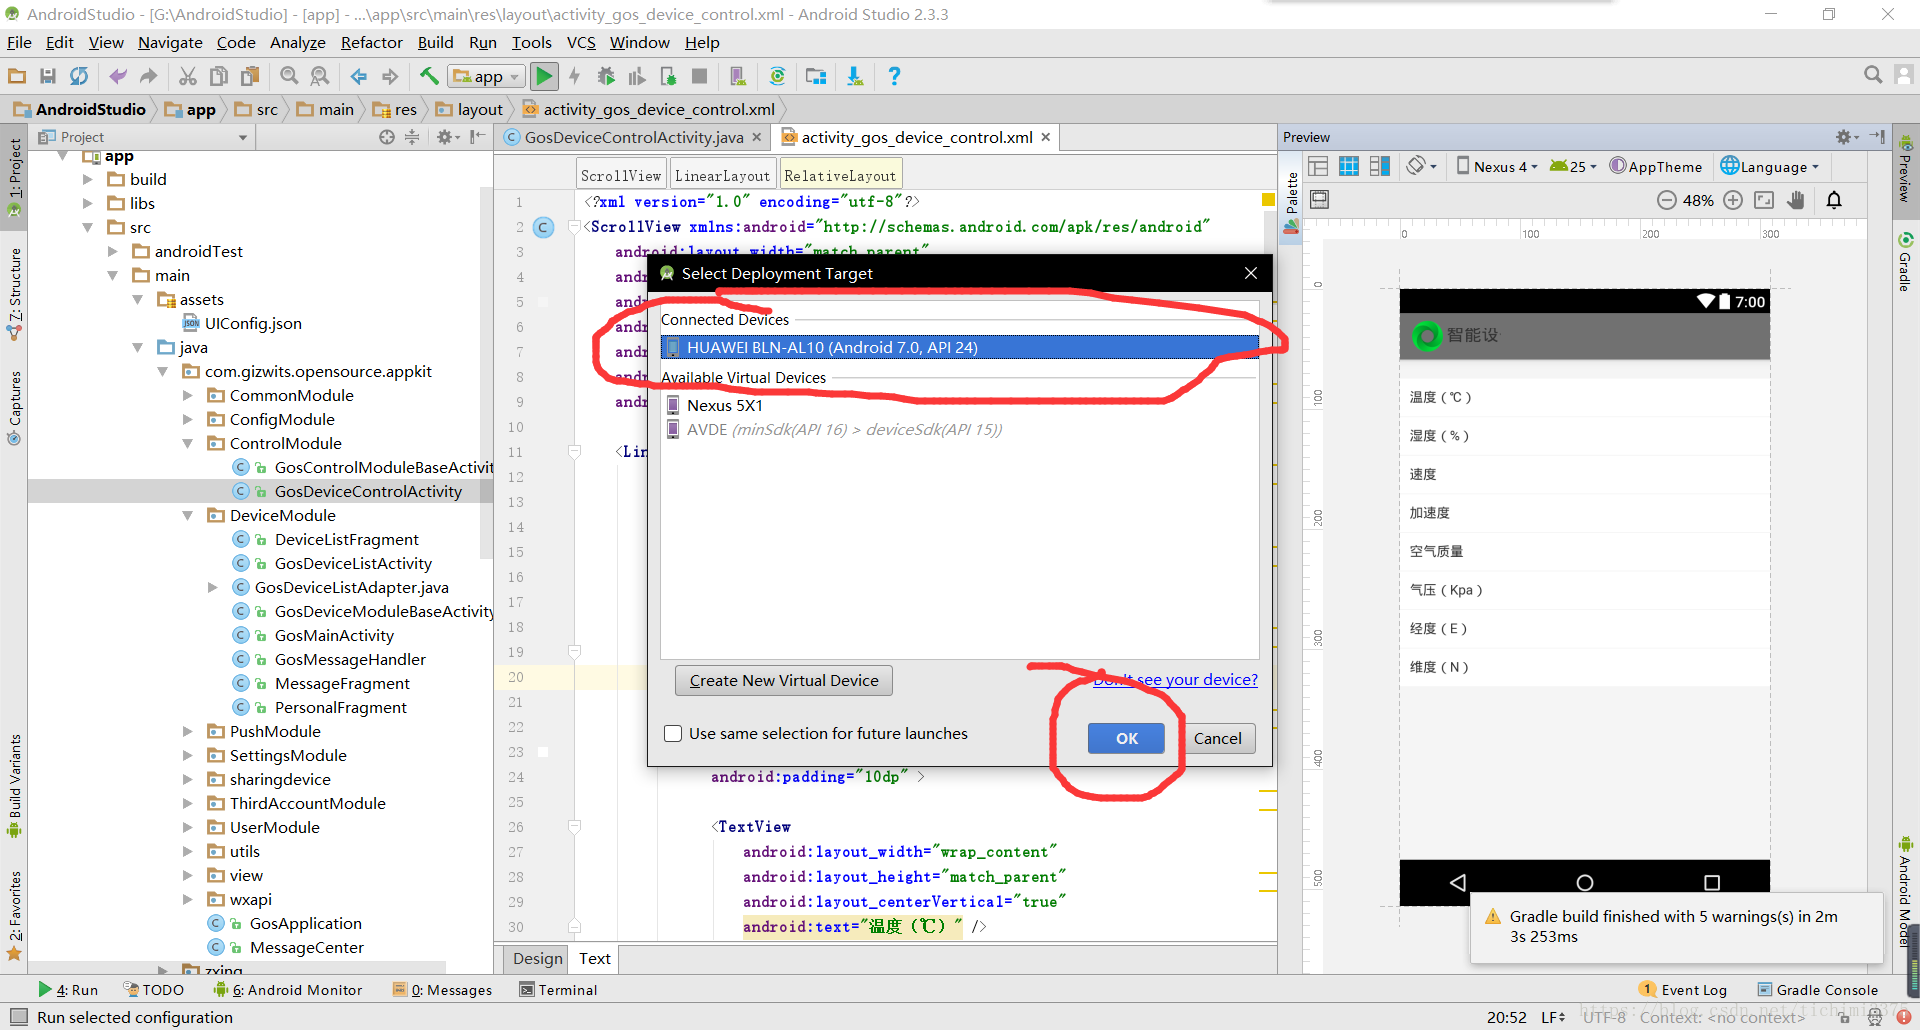
 打开手机的USB调试,并连接电脑 打开手机的USB调试,并连接电脑
点击视图上方的运行
选择手机,点击OK,代码编译完之后自动安装到手机
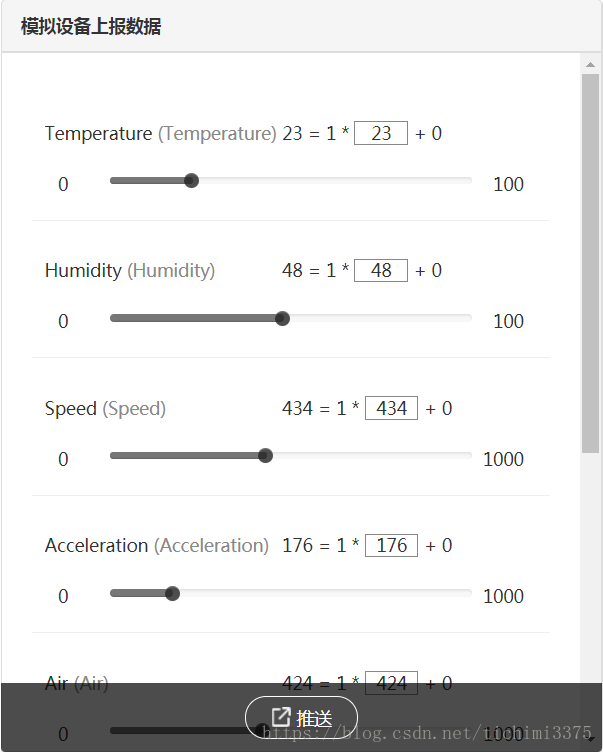
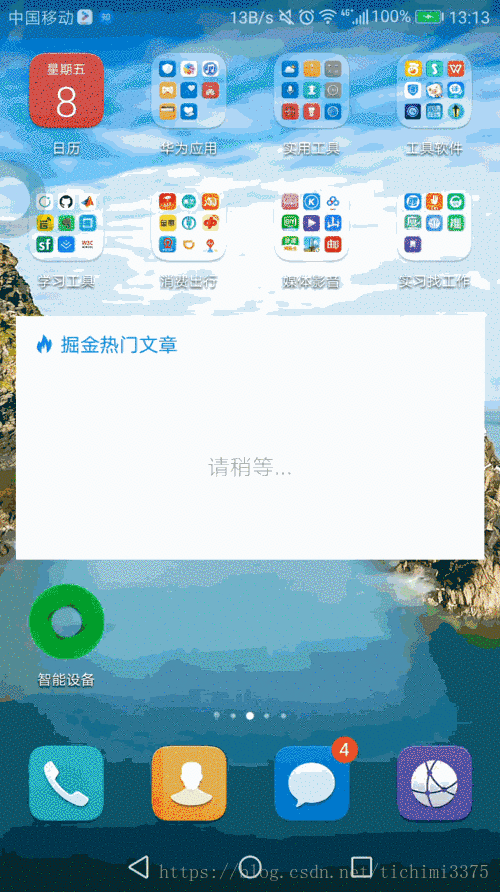
看一下咱们做的APP的效果,开启虚拟设备,设置几个值,推送一下
APP没问题,最后一步,把APP导出,点击Build——Generate Signed APK 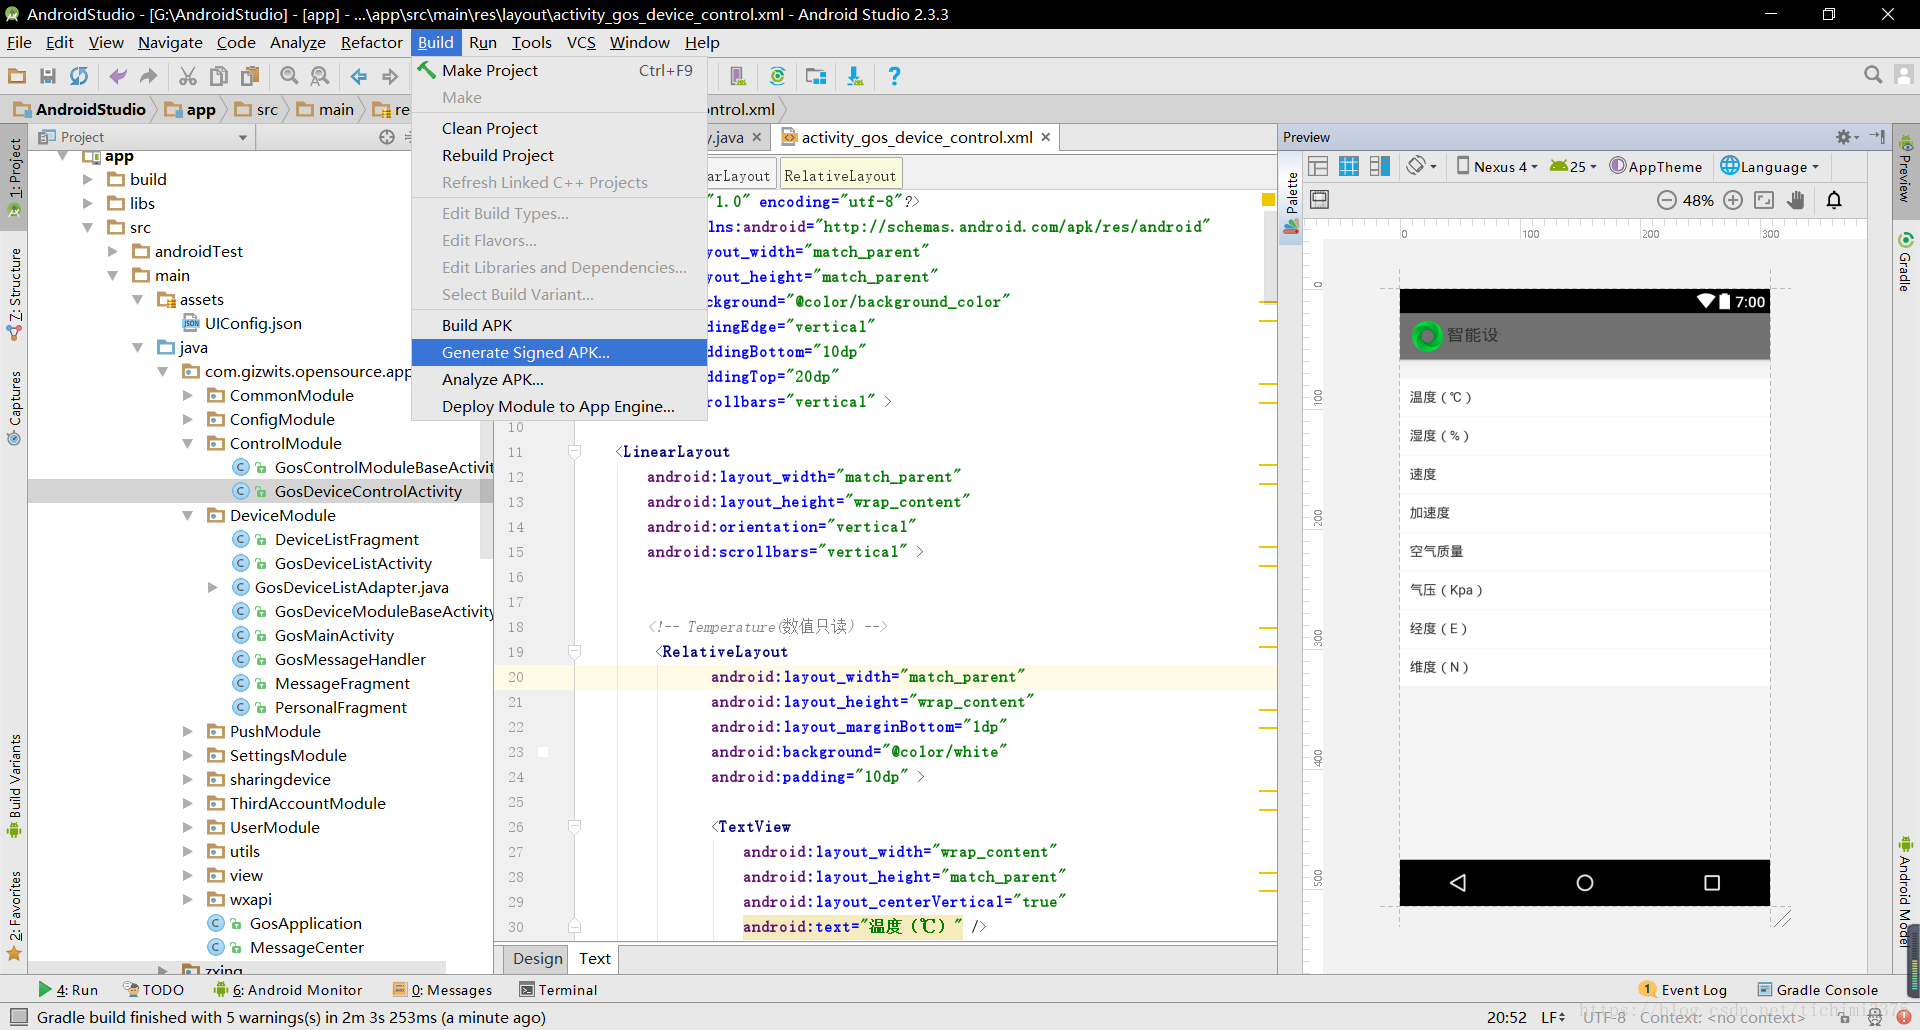
点击Create New 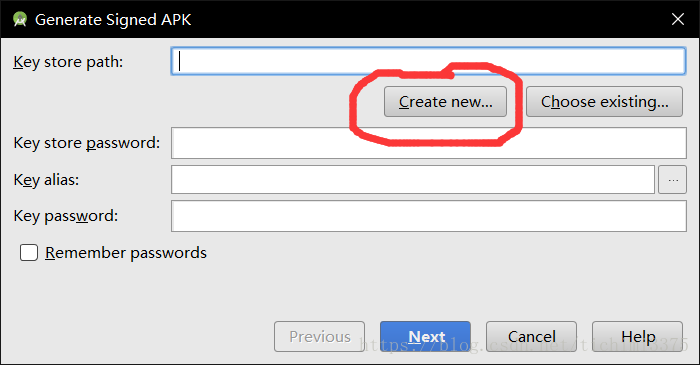
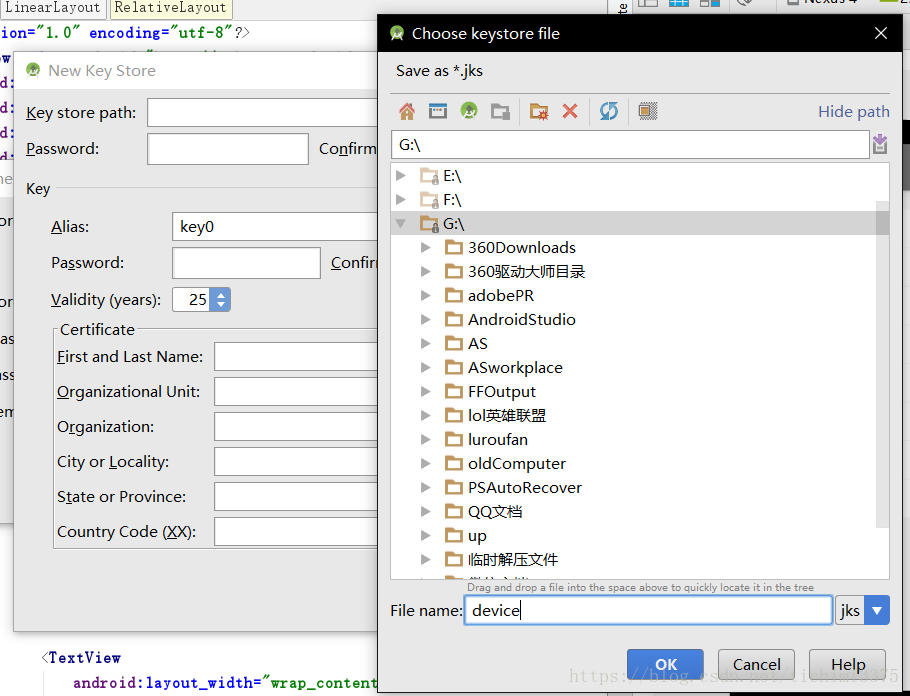
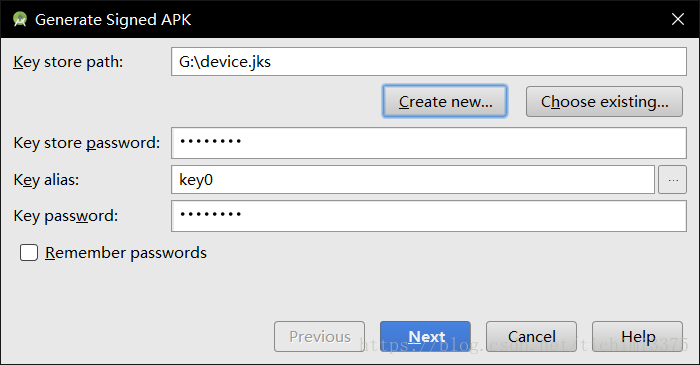
选择jks存放的路径
填写其他信息,点击OK 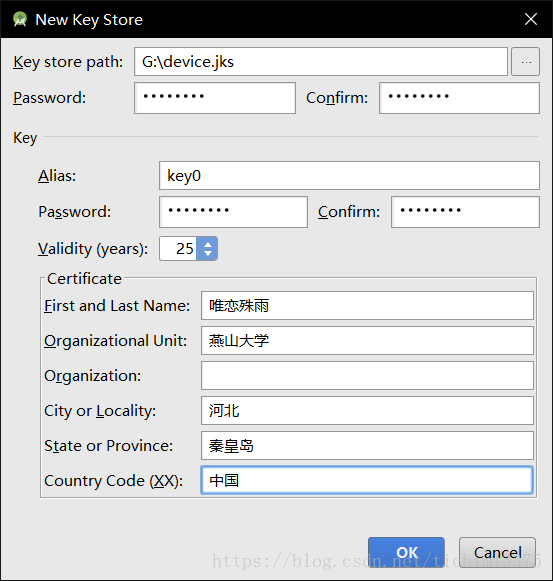
点击Next
点击finish,APP就导出到你刚才指定的路径了 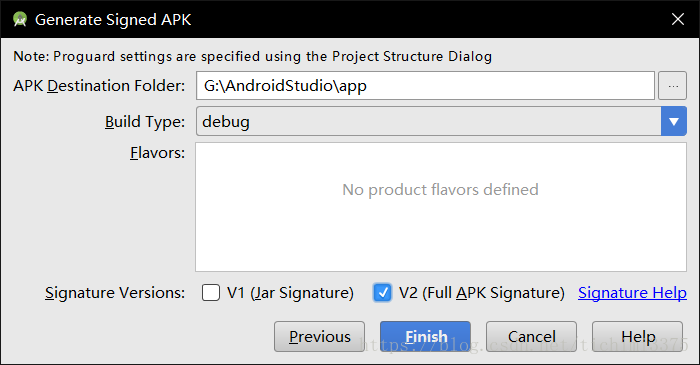
| 

 /1
/1 


 |手机版|OpenEdv-开源电子网
( 粤ICP备12000418号-1 )
|手机版|OpenEdv-开源电子网
( 粤ICP备12000418号-1 )


 发表于 2019-5-7 11:49:42

 楼主
楼主